
This post may contain affiliate links. As an Amazon Associate, I earn from qualifying purchases.
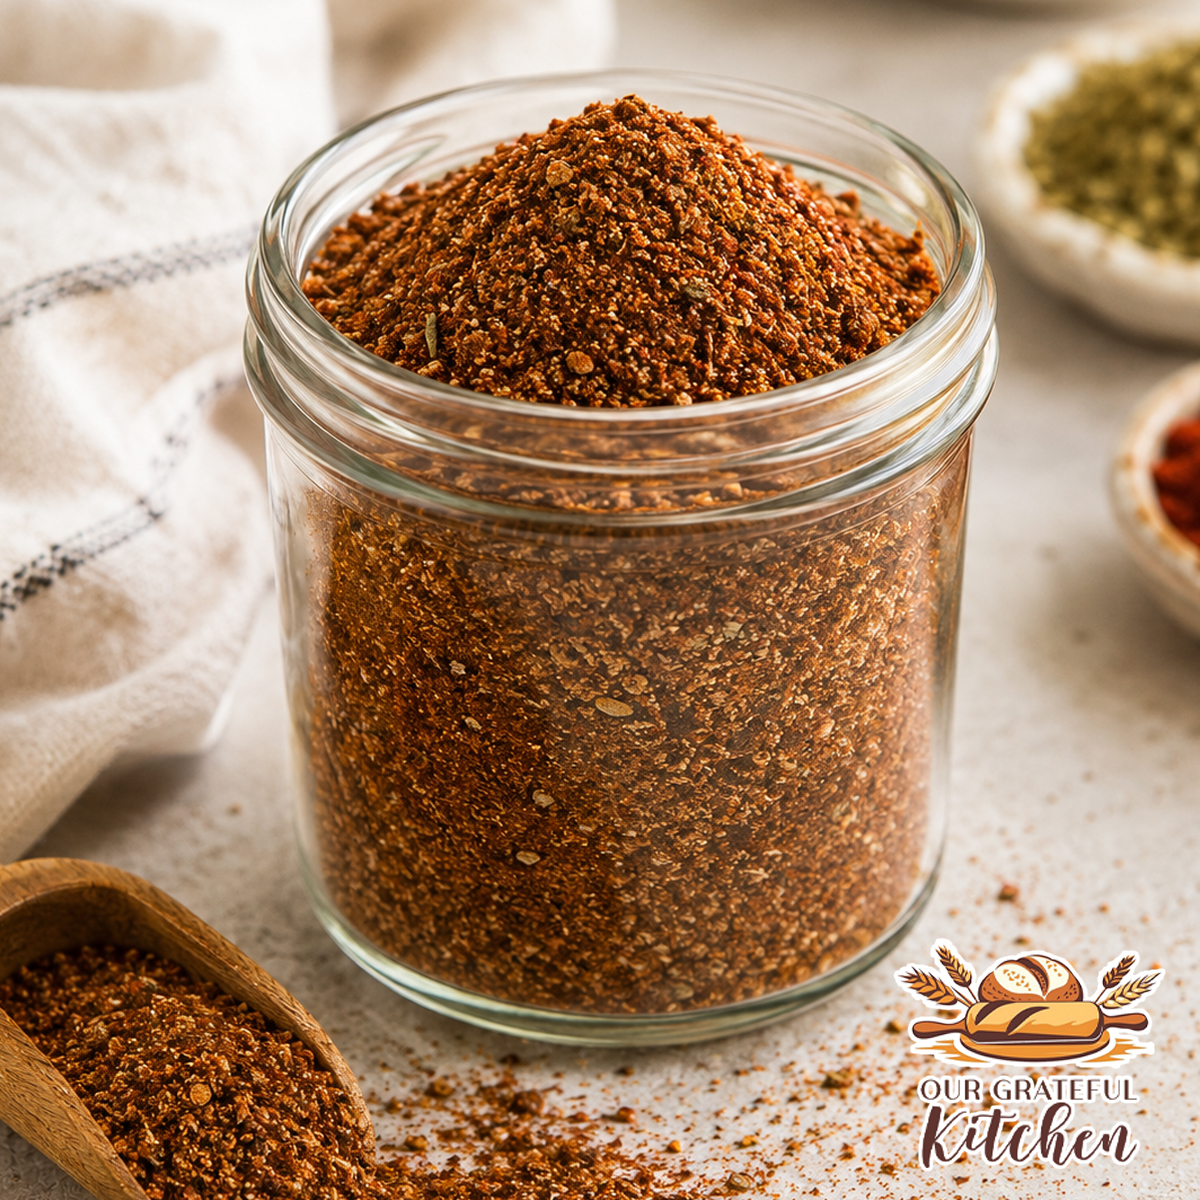
When the weather starts to get cooler one of my favorite meals to make is homemade Chili. It’s budget friendly, feeds a crowd (which as a family of 7, is a must!) and is loved by everyone! Store-bought chili seasoning packets are convenient, but making your own at home is even better. This Homemade Chili Seasoning Mix comes together in just a few minutes using pantry spices you probably already have on hand. It has a rich, classic chili flavor without unnecessary fillers or preservatives, and you can easily adjust the heat to suit your family’s tastes.
I know this is a hot take, but for us in the midwest, there is only one option to serve alongside Chili; and that’s warm Homemade Cinnamon Rolls. Before you click out of here for this statement, TRY IT! At least once – You’ll never go back! Try my traditional Bakery Style Cinnamon Rolls or take it up just a notch with my Sourdough Discard Cinnamon Rolls.

I love keeping a jar of this seasoning in my pantry because it makes busy weeknight dinners so much easier. Pair it with my free Printable Chili Seasoning Pantry Label so you’ll always know exactly what’s in the jar, and be sure to grab my complete collection of Free Printable Pantry Labels while you’re there to organize the rest of your homemade mixes. If you enjoy stocking your pantry with homemade staples, you’ll also love browsing my collection of Homemade Seasoning Blends.
Why You’ll Love This Recipe
- Ready in about 5 minutes.
- Made with simple pantry spices.
- No fillers, preservatives, or mystery ingredients.
- Easy to customize the spice level.
- Makes enough to keep on hand for multiple meals.
- Stores well for months.
- Perfect for gifting with a printable pantry label.
- Works in far more than just chili.
Ingredients
- Chili powder
- Paprika
- Smoked paprika
- Ground cumin
- Garlic powder
- Onion powder
- Dried oregano
- Fine sea salt
- Black pepper
- Cayenne pepper (optional)

Equipment
You don’t need any special equipment to make homemade seasoning blends.
- Measuring spoons – Accurate measuring spoons ensure each spice is added in the proper ratio for a balanced, consistent flavor every time you make the blend.
- Mixing bowl – A mixing bowl gives you plenty of room to whisk the spices together thoroughly.
- Whisk – A whisk quickly breaks up clumps and evenly distributes all of the spices so every spoonful of seasoning has the same great flavor.
- Airtight glass spice jar – An airtight jar helps keep moisture out, preserving the freshness, aroma, and flavor of your homemade chili seasoning for months.
- Small funnel – A funnel makes it easy to transfer the finished seasoning into your storage jar without spilling spices all over your countertop.
- Printable Chili Seasoning Pantry Label – Add a printable pantry label to your finished jar so it’s easy to identify in your spice cabinet while giving your homemade pantry staples a clean, organized, and cohesive look.
How to Make
Making your own chili seasoning couldn’t be much easier. Simply measure each spice into a small mixing bowl before whisking everything together until the color and texture become completely uniform.

Taking a minute to whisk thoroughly helps distribute the herbs and spices evenly so every spoonful has the same balanced flavor.
Once everything is fully blended, transfer the seasoning to an airtight glass jar using a small funnel if needed.

Finish it off by adding my free Printable Chili Seasoning Pantry Label so it’s easy to identify in your pantry, then download my full collection of Free Printable Pantry Labels to organize the rest of your homemade mixes.
This seasoning is ready to use immediately, but I find the flavors become even more balanced after sitting together overnight.
This post may contain affiliate links. As an Amazon Associate, I earn from qualifying purchases.
PrintHomemade Chili Seasoning Mix

Skip the store-bought packets and make your own Homemade Chili Seasoning Mix with simple pantry spices. This easy DIY seasoning blend is perfect for classic chili, taco soup, chili mac, and more. It comes together in minutes and stores well for months.
- Prep Time: 5 minutes
- Cook Time: 0 minutes
- Total Time: 5 minutes
- Yield: about 3/4 cup (12 tbsp)
- Category: Homemade Mixes, Seasoning
- Method: Mixing
- Cuisine: American
Ingredients
- 3 tablespoons chili powder
- 2 tablespoons paprika
- 2 tablespoons ground cumin
- 1 tablespoon garlic powder
- 1 tablespoon onion powder
- 2 teaspoons dried oregano
- 2 teaspoons fine sea salt
- 1 teaspoon black pepper
- 1 teaspoon smoked paprika
- ½ teaspoon cayenne pepper (optional)
Equipment
- Measuring spoons
- Small mixing bowl
- Whisk
- Airtight spice jar or container
Instructions
- Measure all of the spices into a small mixing bowl.
- Whisk until the seasonings are evenly combined and there are no clumps.
- Transfer the seasoning mix to an airtight spice jar or container.
- Download and print my Free Chili Seasoning Jar Label
- Store in a cool, dry place for up to 6 months.
Notes
- For 1 pound of ground beef: Use 2½ to 3 tablespoons of seasoning.
- For a classic pot of chili, combine the seasoned beef with 1 (15-ounce) can tomato sauce and ¾ to 1 cup beef broth or water, then add beans and diced tomatoes if desired.
- Omit the cayenne pepper for a mild blend, or increase it for more heat.
- Fresh spices will provide the best flavor, so replace older spices as needed.
- This seasoning is naturally gluten-free when made with certified gluten-free spices.
- Double or triple the recipe to keep a larger batch on hand.
- Label the jar with the date it was mixed.
- Shake the jar before each use to redistribute the spices.
- This blend also works well in taco soup, chili mac, stuffed peppers, and Southwest casseroles.
Recipes That Pair Well With This
This homemade chili seasoning is incredibly versatile. Here are some of my favorite ways to use it:
- Bakery Style Cinnamon Rolls
- Sourdough Discard Cinnamon Rolls
- Homemade Sloppy Joes
- Slow Cooker Chicken Taco Soup
- Homemade Sour Cream
- Homemade Seasoned Salt
- Easy Dinner Recipes
- Homemade Seasoning Blends
More Recipes to Try
- Homemade Fajita Seasoning
- Homemade Taco Seasoning
- Homemade Brown Gravy Mix
- Cream of Anything Soup Mix
- Homemade Ranch Seasoning
- Homemade Guacamole
- Creamy Southwest Corn Dip
- Cowboy Caviar
- Chicken Pot Pie
- Slow Cooker Crack Chicken
- Bacon Ranch Pasta Salad
- One Bowl Banana Bread
- Complete Collection of Pantry Labels (FREE!)
Tips for Little Helpers
Kids love helping with homemade spice blends because there isn’t any cooking involved.
- Let younger children measure the spices into the bowl.
- Older kids can whisk everything together until evenly combined.
- Have them help pour the seasoning into the storage jar using a funnel.
- Finish by applying the printable pantry label together.
Tips for Success
- Use fresh spices for the best flavor.
- Whisk thoroughly to eliminate streaks and pockets of individual spices.
- Store the seasoning away from heat, moisture, and direct sunlight.
- Adjust the cayenne pepper to make the blend milder or spicier.
- Shake the jar before each use if it has been sitting for a while.
Frequently Asked Questions (FAQ’s)
How much seasoning should I use for one pound of ground beef?
About 2½ to 3 tablespoons is a great starting point for one pound of ground beef. You can adjust slightly depending on how bold you like the flavor.
Is this seasoning spicy?
As written, it’s mild to medium. The cayenne pepper adds a little warmth but can easily be omitted for a kid-friendly version.
Can I use this in recipes besides chili?
Absolutely. It’s delicious in taco soup, chili mac, stuffed peppers, seasoned ground beef, Southwest casseroles, chili cheese fries, baked potatoes, and even sprinkled over roasted vegetables.
Does this replace store-bought chili seasoning packets?
Yes. This recipe was developed to be an easy homemade alternative that delivers classic chili flavor without preservatives or fillers.
Can I double or triple the recipe?
Definitely. Homemade seasoning blends are perfect for making in larger batches so they’re always ready when you need them.
Storage
Store your Homemade Chili Seasoning Mix in an airtight glass jar in a cool, dry pantry for up to 6 months. For the best flavor, keep it away from heat, moisture, and direct sunlight.
Don’t forget to print and attach my free Printable Chili Seasoning Pantry Label, and download my complete set of Free Printable Pantry Labels to keep all of your homemade mixes organized.
Freezing Instructions
Because this is a dry seasoning blend, freezing isn’t necessary. Properly stored in an airtight container, it will keep well for months at room temperature.
Variations
- Leave out the cayenne for a mild blend.
- Add extra cayenne for a spicier version.
- Increase the smoked paprika for a richer smoky flavor.
- Add crushed red pepper flakes for extra heat.
- Reduce the salt if you prefer to season recipes separately.
- Stir in a little chipotle powder for a smoky Southwest twist.
Final Thoughts
Keeping homemade seasoning blends in the pantry is one of my favorite ways to simplify weeknight cooking. This Homemade Chili Seasoning Mix takes just a few minutes to make, tastes better than most store-bought packets, and lets you control exactly what goes into your family’s meals.
Whether you’re making a big pot of chili, seasoning ground beef for dinner, or building a well-stocked pantry of homemade staples, this blend is one you’ll reach for again and again. Pair it with the free printable pantry label, organize your shelves with my complete collection of pantry labels, and enjoy having another homemade staple ready whenever dinner calls for it.

Leave a Reply