This post may contain affiliate links. As an Amazon Associate, I earn from qualifying purchases.
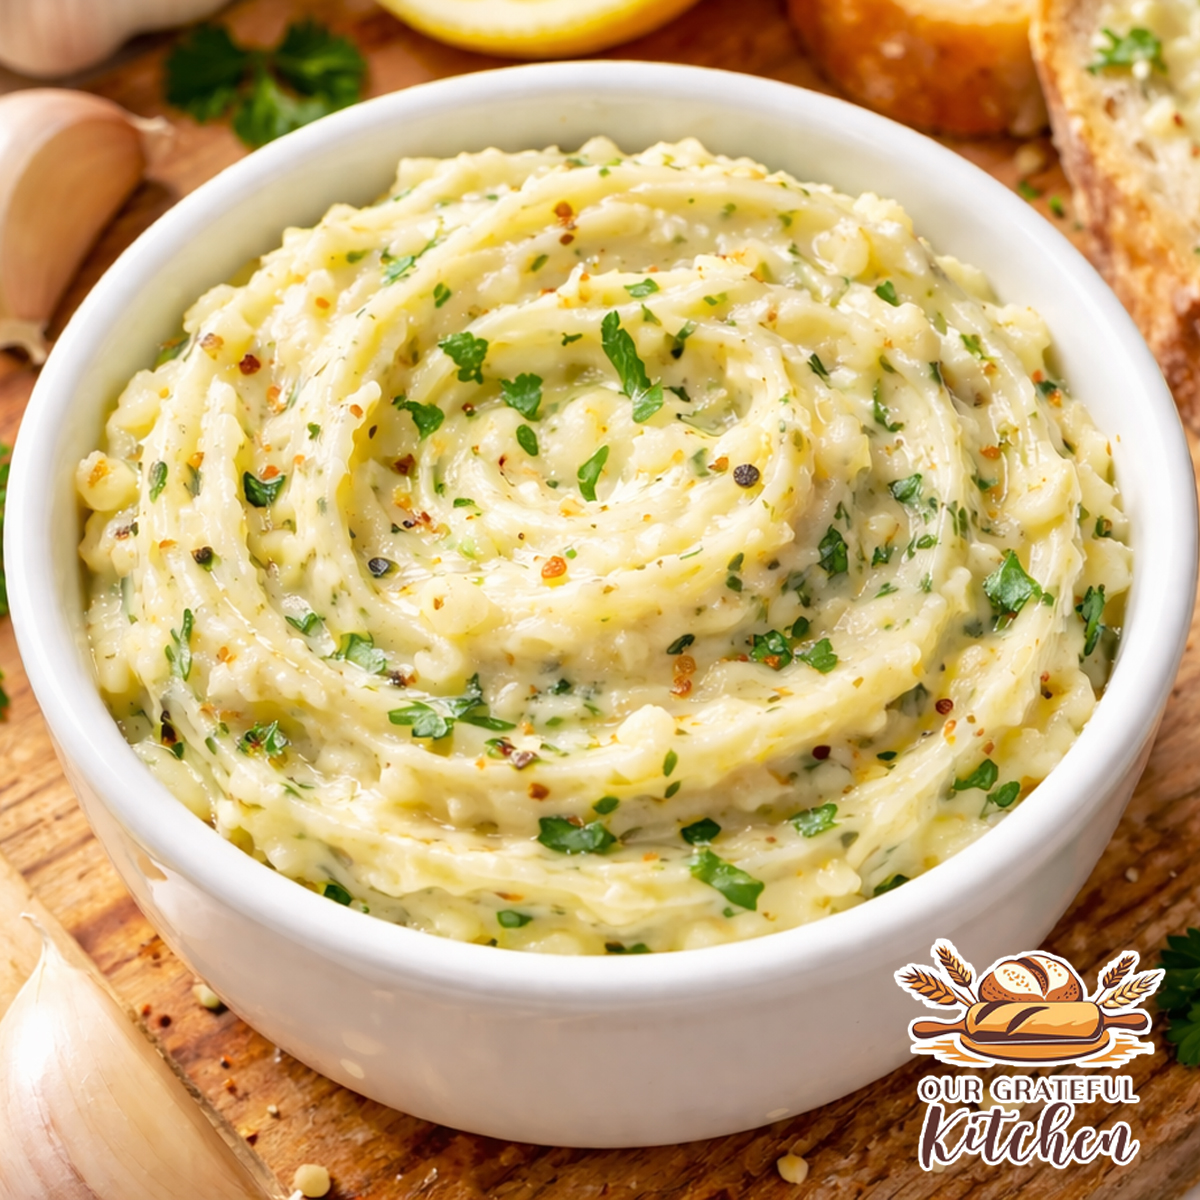
If there’s one kitchen staple that instantly elevates almost any meal, it’s homemade garlic butter. Rich, savory, and packed with real garlic flavor, this simple spread transforms everyday foods into something memorable — whether you’re slathering it on warm bread, melting it over steak, or tossing it with Homemade Pasta.
One of the best things about making garlic butter from scratch is the control you have over the flavor. Prefer it extra garlicky? Add another clove. Want it bright and fresh? A small squeeze of lemon does wonders. It’s a flexible, foolproof recipe that belongs in every home cook’s rotation.
We especially love keeping a batch in the fridge because it makes quick meals feel intentional. Spread it on toast alongside soups, brush it over roasted vegetables, or use it to finish proteins for an easy flavor upgrade. Try my Garlic Butter Rice for more garlicy goodness!
Be sure to explore our Bread Recipes for the perfect homemade loaves to pair with this garlic butter, and browse our Easy Dinners when you need simple meals that benefit from a boost of rich, savory flavor.
Why You’ll Love This Recipe
- Incredibly easy — ready in about 10 minutes
- Restaurant-quality flavor with minimal effort
- Versatile enough for bread, pasta, vegetables, and meats
- Freezer-friendly so you can always have some on hand
- Better than store-bought with real, fresh ingredients
Ingredients You’ll Need
- Unsalted butter, softened
- Fresh garlic
- Fresh parsley (or dried)
- Lemon juice (optional but recommended)
- Kosher salt
- Black pepper

Equipment Needed
- Mixing bowl — Allows plenty of room for smooth blending.
- Fork or silicone spatula — Perfect for mashing and combining the butter evenly.
- Garlic press or microplane — Creates finely minced garlic that distributes better throughout the butter.
- Electric hand mixer — Keeps the texture light, fluffy, and easier to spread.
- Parchment paper — Helpful if shaping the butter into a sliceable log.
- Airtight container — Keeps the butter fresh and prevents it from absorbing fridge odors.
How to Make Homemade Garlic Butter
Great garlic butter is all about balance and texture. Start with properly softened butter — not melted — so the garlic and herbs incorporate smoothly without separating later.
Finely mince or grate the garlic to avoid harsh bites and ensure the flavor spreads evenly throughout the butter. Once combined, give it a quick taste. Butter acts as a flavor carrier, so even a small adjustment in salt or lemon can noticeably enhance the final result.
For that classic fluffy texture, whip for a couple minutes on high with an electric hand mixer.

If time allows, let the butter chill for at least an hour before serving. This helps the flavors meld together and slightly softens the intensity of the raw garlic, creating a more rounded, restaurant-style taste.
This post may contain affiliate links. As an Amazon Associate, I earn from qualifying purchases.
PrintHomemade Garlic Butter

This easy Homemade Garlic Butter is rich, savory, and packed with real garlic and herbs. Use it for garlic bread, steaks, pasta, veggies, and roasted potatoes—ready in minutes and better than store-bought.
- Prep Time: 10 minutes
- Total Time: 10 minutes
- Yield: About 1 cup
- Category: Condiments, Sauces, Spreads
- Cuisine: American
Ingredients
- 1 cup (2 sticks) unsalted butter, softened
- 4–5 garlic cloves, finely minced (or grated)
- 1 TBSP fresh parsley, finely chopped (or 1 tsp dried parsley)
- 1 tsp lemon juice (optional, brightens flavor)
- 1/2 tsp kosher salt (adjust to taste)
- 1/4 tsp black pepper
- Optional add-ins:
- 1/4 tsp crushed red pepper flakes
- 1 TBSP grated Parmesan
- 1/2 tsp Italian seasoning (if skipping fresh herbs)
Instructions
- Instructions
- Soften & mash: Add softened butter to a mixing bowl and mash until smooth.
- Add flavor: Stir in garlic, parsley, lemon juice (if using), salt, and pepper until fully combined.
- Whip until fluffy: Whip with an electric hand mixer until texture is soft and fluffy.
- Taste & adjust: Add more salt, pepper, or garlic to your preference.
- Store: Spoon into an airtight container, or shape into a log using parchment paper and chill until firm.
Notes
-
Garlic strength tip: Fresh minced garlic is bold. For a softer, mellow garlic butter, use 1–2 tsp garlic powder instead of fresh garlic, or let the finished butter chill for a few hours before serving.
-
Best butter texture: Fully softened butter mixes the cleanest—avoid melted butter or it can separate later.
-
Serving ideas: Spread on warm bread, melt over steak, toss with hot pasta, brush on corn or roasted veggies, or dollop onto baked potatoes.
Tips for Success
- Use high-quality butter — it’s the primary flavor.
- Always start with fully softened butter for the smoothest texture.
- Grate instead of chop garlic if you want a more infused flavor.
- Let the butter rest in the fridge before serving for the best taste.
- Add lemon juice sparingly — it should brighten, not overpower.
Storage & Reheating
Store: Keep in an airtight container in the refrigerator for up to 7 days.
Freeze: Garlic butter freezes beautifully for up to 3 months. Slice before freezing so you can grab portions as needed.
Reheat: No reheating required — simply spread or melt gently over hot foods.
Frequently Asked Questions
Can I use salted butter?
Yes — just reduce the added salt and adjust to taste.
Is raw garlic safe to eat?
Absolutely. However, if you prefer a milder flavor, you can briefly sauté the garlic in a little butter, cool it, and then mix it in.
Can I make this into garlic bread butter?
Definitely. Stir in a few tablespoons of grated Parmesan and a pinch of Italian seasoning, then spread generously on bread before baking.
What else can I use garlic butter on?
Try it on roasted potatoes, corn, shrimp, pasta, steak, or even melted over rice for an instant flavor boost.
Variations & Serving Ideas
- Garlic Herb Butter: Add chives, thyme, or rosemary.
- Spicy Garlic Butter: Mix in crushed red pepper flakes.
- Parmesan Garlic Butter: Perfect for breadsticks, dinner rolls, and pizza crust
- Whipped Garlic Butter: Use a hand mixer for an ultra-light, spreadable texture.
Final Thoughts
Homemade garlic butter is one of those small recipes that delivers big returns. It takes minutes to make but instantly upgrades everyday meals into something that feels special.
Once you start keeping a batch in your fridge, you may wonder how you ever cooked without it.
Leave a Reply