This post may contain affiliate links. As an Amazon Associate, I earn from qualifying purchases.
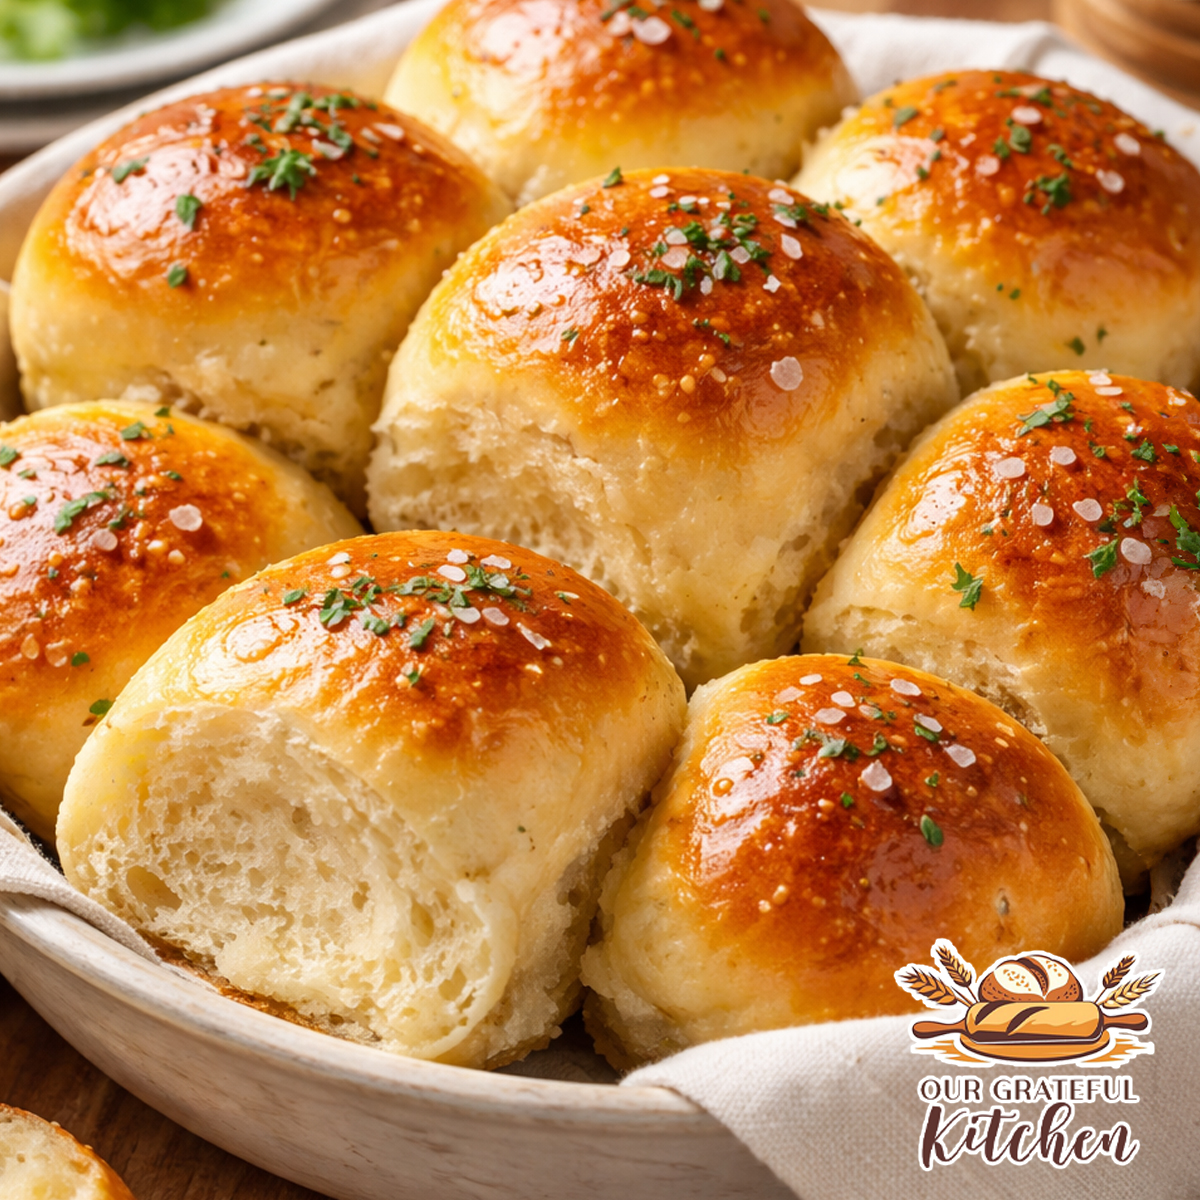
There is something incredibly comforting about warm, homemade dinner rolls fresh from the oven. Soft, fluffy, and brushed with butter, these rolls bring a cozy, made-from-scratch touch to any meal — yet they’re surprisingly simple to make.
How long does it take to make quick dinner rolls?
These dinner rolls can be ready in about an hour, including rise time, making them perfect for busy evenings or last-minute meals.
Unlike traditional yeast rolls that require long rise times, this recipe is designed for real life. With just one quick rise and pantry staples, you can have bakery-style rolls on the table in about an hour.
Whether you’re serving them alongside a weeknight dinner, preparing a holiday spread, or simply craving fresh bread, these rolls deliver dependable, crowd-pleasing results every time.
For extra flavor, don’t miss our Homemade Garlic Butter or the reader-favorite Texas Roadhouse Copycat Honey Butter — both take these rolls to the next level.
If you love baking from scratch, be sure to explore our full Bread Category for more dependable homemade recipes.
Why You’ll Love This Recipe
- Fast for yeast rolls — no long proofing required
- Beginner-friendly with simple, forgiving steps
- Soft and fluffy with a buttery finish
- Versatile enough for holidays or everyday dinners
- Freezer-friendly for future meals
Ingredients You’ll Need
Simple pantry ingredients come together to create rolls that taste completely homemade.
- Warm-hot water
- Oil
- Granulated sugar
- Instant yeast
- Large egg
- Salted butter
- Salt
- All-purpose flour or bread flour
- Milk (for brushing)

Equipment Needed
- Stand mixer with dough hook — Makes kneading effortless and helps develop soft, elastic dough.
- Large mixing bowl — Ideal if mixing by hand.
- 9×13 baking dish — Produces perfectly pull-apart rolls.
- Pie dish or sheet pan — Helpful for shaping the remaining rolls without overcrowding.
- Kitchen towel — Keeps the dough from drying during the rise.
How to Make Quick & Easy Dinner Rolls
Great dinner rolls rely on proper dough texture and a warm rising environment rather than complicated techniques.

Blooming the yeast in lightly sweetened warm water jumpstarts activation, while oil and butter enrich the dough for a tender crumb.

Adding flour gradually is key — the dough should feel soft and slightly tacky, never stiff. Proper kneading builds gluten, which gives the rolls their signature fluffy interior.


Instead of waiting hours for a rise, placing the covered dough into a gently warmed oven creates the perfect draft-free space for rapid proofing. The rolls expand beautifully while staying light rather than dense.

A light milk wash encourages even browning, and finishing with melted butter keeps the tops soft while adding classic dinner-roll flavor.

This post may contain affiliate links. As an Amazon Associate, I earn from qualifying purchases.
PrintQuick & Easy Dinner Rolls

These quick and easy dinner rolls are soft, fluffy, and perfect for busy nights when you want homemade bread without the long rise times. Made with simple pantry ingredients and ready in about an hour, they’re ideal for weeknight dinners, holiday tables, or anytime you need warm, buttery rolls fast.
- Prep Time: 25 minutes
- Rise Time: 15-30 minutes
- Cook Time: 10-12 minutes
- Total Time: 40 – 60 minutes
- Yield: 18 dinner rolls
- Category: Bread
- Cuisine: American
Ingredients
- 1 c warm-hot water
- 1/3 c oil
- 3 TBSP granulated sugar
- 2 1/4 tsp instant yeast (one package) or 2 TBSP active dry yeast
- 1 large egg, beaten
- 2 TBSP salted butter, softened
- 1/4 tsp salt
- 3 1/2 –4 cups AP (all-purpose) flour or bread flour (I tend to end up closer to 4, but this will depend on the humidity in your kitchen)
- 2 TBSP milk, room temperature (for brushing)
Instructions
- Preheat oven to 200°F for 1 minute, then turn it off immediately and keep the door closed to create a warm rising space.
- In a large bowl, combine the water, oil, sugar, and yeast. Let sit for 7–8 minutes until bubbly.
- Stir in the beaten egg, softened butter, and salt.
- Using a stand mixer fitted with a dough hook (or mixing by hand), add flour one cup at a time until a soft dough forms that is no longer sticky.
- Knead for 5 minutes on low-medium speed, or about 10 minutes by hand.
- Let the dough rest for 5 minutes.
- Divide into 12 or 18 even pieces and shape into balls, pinching the bottoms closed.
- Place into greased baking dishes (9×13 baking dish if making 12, or a 9×13 dish and a pie dish if making 18 rolls) or onto a parchment-lined sheet pan.
- Cover with a clean kitchen towel and place in the warm oven to rise for 15 minutes. If time allows, let rise up to 45 minutes for even fluffier rolls.
- Remove from oven and preheat to 400°F.
- Lightly brush tops with room temperature milk.
- Bake for 10–12 minutes, until lightly golden.
- Brush with melted butter or our homemade garlic butter or honey butter before serving.
Notes
-
Start with 3 cups flour. Add more gradually — too much flour creates dense rolls. The dough should feel soft and slightly tacky.
-
Instant yeast speeds things up, eliminating the need for a long rise.
-
The warm oven trick helps the rolls puff quickly without over-proofing.
-
For extra flavor, finish with garlic butter or honey butter.

Tips for Success
- Check your water temperature. It should feel very warm but not hot to the touch — overly hot water can damage the yeast.
- Avoid adding too much flour. Soft dough equals soft rolls.
- Use the warm oven trick carefully. The oven should be warm, never hot.
- Brush with butter immediately after baking for the best flavor and texture.
Storage & Reheating
Store: Keep rolls in an airtight container at room temperature for up to 3 days.
Reheat: Warm in a 300°F oven for about 5–7 minutes or microwave briefly wrapped in a damp paper towel.
For longer storage, freeze baked rolls for up to 2 months and thaw at room temperature before reheating.
Frequently Asked Questions
Can I use active dry yeast instead of instant?
Yes — just allow a few extra minutes for the yeast to become fully bubbly.
Can I make these ahead of time?
Absolutely. Shape the rolls, cover tightly, and refrigerate. Let them come to room temperature before baking.
Why are my rolls dense?
The most common cause is too much flour. The dough should remain soft.
Can I use bread flour?
Yes! Bread flour creates a slightly chewier texture, while all-purpose keeps them extra tender.
Variations & Serving Ideas
Elevate these rolls with flavorful spreads like our creamy Texas Roadhouse Copycat Honey Butter, or turn them savory with Homemade Garlic Butter.
They pair beautifully with comforting dinners — browse our collection of Easy Dinner Meals when you need inspiration for a complete meal.
You can also sprinkle the tops with flaky salt, brush with herb butter, or turn leftovers into incredible slider sandwiches.

For more scratch baking favorites, visit our full collection of Bread Recipes.
Final Thoughts
Every home cook deserves a reliable dinner roll recipe — one that feels achievable even on busy days. These quick and easy rolls strike the perfect balance between convenience and homemade comfort, making them a recipe you’ll return to again and again.
Once you experience how simple fresh bread can be, it’s hard to go back to store-bought.
Leave a Reply