This post may contain affiliate links. As an Amazon Associate, I earn from qualifying purchases.
Sourdough starters have a way of creating plenty of discard, and finding good ways to use it is part of the rhythm of baking with sourdough. While it often ends up in breakfast recipes like our Sourdough Discard Cinnamon Rolls, it works surprisingly well in rich desserts too. These Sourdough Discard Brownies (Chocolate Chip Fudgy Brownies) are one of the easiest and most satisfying ways to turn that extra starter into something deeply chocolatey and incredibly fudgy.
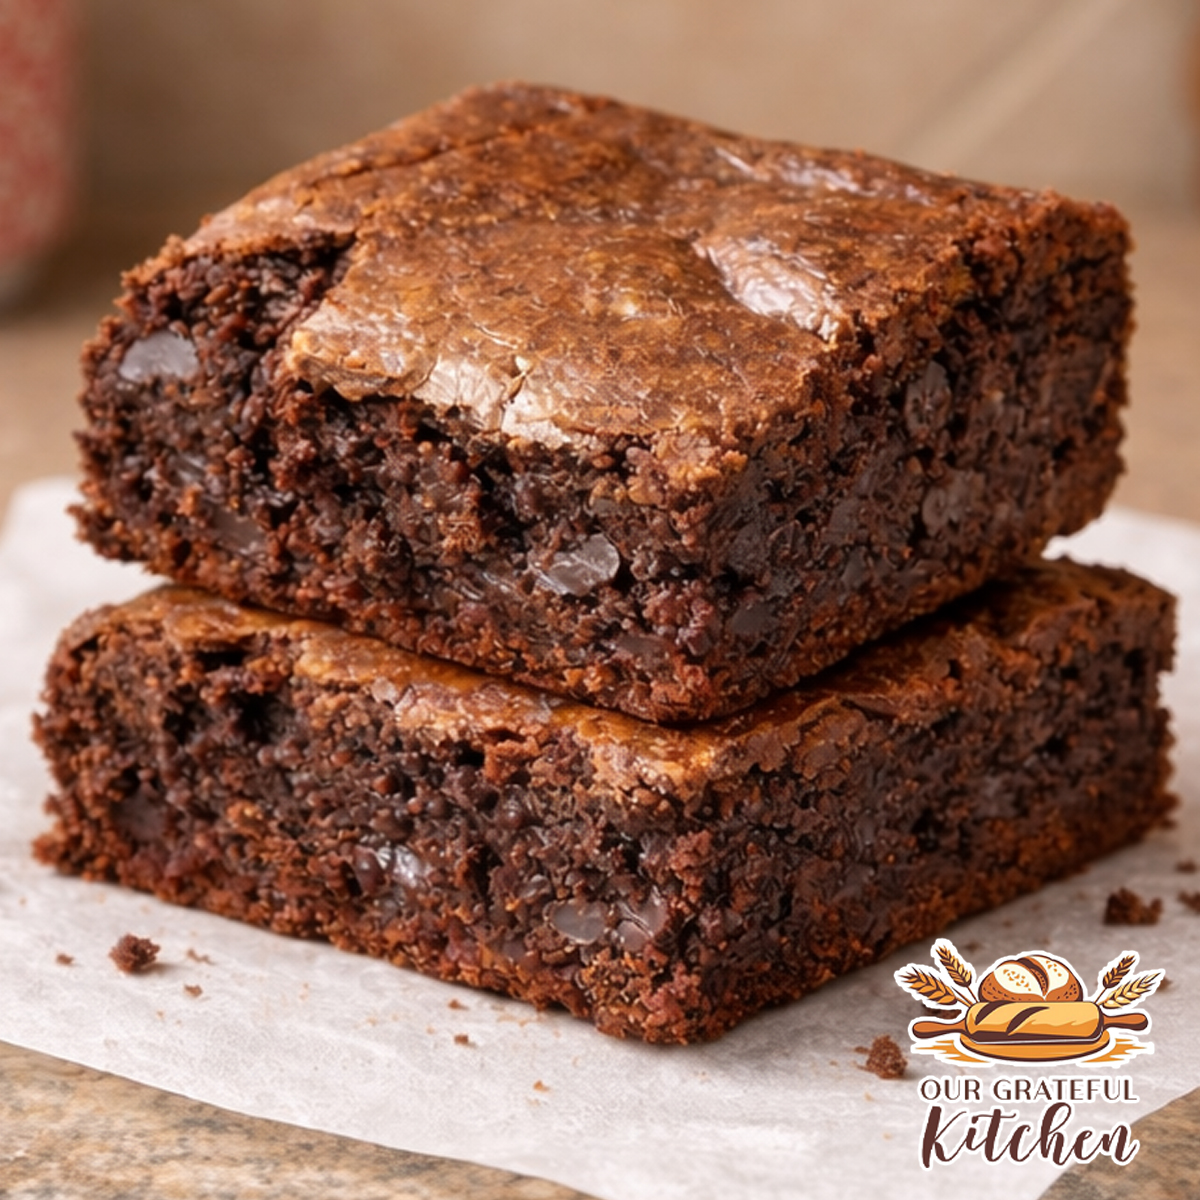
Brownies are one of those desserts that always seem to disappear quickly in our house. The batter comes together with simple pantry ingredients, plenty of melted chocolate, and a handful of chocolate chips folded in at the end. As they bake, the brownies develop that classic shiny crackly top with a dense, rich center that brownie lovers are always looking for.
The sourdough discard blends right into the batter, adding a subtle depth of flavor while helping keep the brownies soft and moist. The result is a pan of brownies that feels homemade in the best possible way — rich, chocolatey, and just a little bit indulgent.
Recipes like this are also perfect for baking days with kids in the kitchen. Around here, little helpers are always eager to pour in the chocolate chips, scrape the bowl with a spatula, and of course sneak a taste of the batter before the pan makes it to the oven.
If you’re looking for more ways to use your discard, try my tasty Sourdough Discard Pancakes, Sourdough Discard Crepes, Sourdough Discard Cinnamon Rolls, Sourdough Discard Waffles, or browse my fully collection of Sourdough Recipes.
If you LOVE a fudgy brownie, not a fan of sourdough – try my more traditional Fudgy Brownie recipe, or see my ever growing collection of Brownie Recipes.
Why You’ll Love This Recipe
• A perfect way to use sourdough discard instead of throwing it away
• Thick, fudgy brownies with crackly tops
• Rich chocolate flavor with pockets of melted chocolate chips
• Easy one-bowl batter after the chocolate is melted
• Simple pantry ingredients
• Family friendly and perfect for baking with kids
• Freezes well for make-ahead desserts
For more homemade desserts, recipes like Bakery Style Double Chocolate Chip Cookies, Chocolate Chip Cookie Cake, and Frosted Lemon Sugar Cookie Bars are always favorites. And when you are planning a full comfort-food meal, brownies like these make a perfect sweet finish after cozy dinners like Crockpot Chicken and Dumplings or Creamy Beef Enchiladas.
Ingredients
• sourdough discard
• unsalted butter
• semi-sweet chocolate
• granulated sugar
• brown sugar
• eggs
• vanilla extract
• cocoa powder
• all-purpose flour
• salt
• chocolate chips

Equipment
Stand Mixer – A sturdy stand mixer makes it easy to whip the eggs and sugar until the batter becomes thick and glossy. We use our KitchenAid stand mixer constantly for baking projects.
Mixing Bowls – Having a few mixing bowls ready helps keep the process smooth when melting chocolate and preparing the batter.
Rubber Spatula – A flexible spatula is perfect for folding chocolate chips into the batter and scraping every bit into the pan.
Metal Brownie Pan – A standard square baking pan helps brownies bake evenly and develop the classic crackly top.
Parchment Paper – Lining the pan with parchment makes it easy to lift the brownies out cleanly after baking.
How to Make
The brownies begin by melting the butter, cocoa, and chocolate together until the mixture becomes smooth and glossy. This rich chocolate base is what gives the brownies their deep flavor and dense texture. Letting it cool slightly before adding it to the batter prevents the eggs from cooking and keeps the mixture silky.

While the chocolate mixture cools, the eggs and sugars are beaten together until they become thick, pale, and slightly fluffy. This step is more important than it might seem. Whipping the eggs and sugar properly helps create that classic shiny crackly brownie top that everyone loves. It might feel like a lot of mixing, but it’s not too much!


Once the eggs and sugar have thickened, the melted chocolate mixture and sourdough discard are mixed in slowly. The discard blends right into the batter, adding subtle depth without making the brownies taste sour.

The flour and salt are added later to provide just enough structure to hold the brownies together without making them cakey. The goal is to stir only until the dry ingredients disappear so the brownies stay soft and chewy rather than tough.


Right before the batter goes into the pan, the chocolate chips are folded in with a spatula so they stay evenly distributed and melt into pockets of chocolate throughout the brownies as they bake.

The batter is spread into a parchment-lined pan and smoothed gently across the surface. As the brownies bake at 350°F, the edges set while the center stays soft. This balance is what creates brownies with crisp edges and a fudgy middle.

Once baked, the pan is left to cool before slicing. Brownies continue to firm up as they rest, which helps them hold their shape while keeping the center soft and rich.
Be sure to browse all my Brownie Recipes!
And if you’re looking for even more rich chocolatey goodness, check out my Triple Chocolate Bundt Cake!
This post may contain affiliate links. As an Amazon Associate, I earn from qualifying purchases.
PrintSourdough Discard Brownies (Chocolate Chip Fudgy Brownies)

These sourdough discard brownies are rich, chewy, and deeply chocolatey with a shiny crackly top and plenty of chocolate chips throughout. A perfect way to use extra sourdough discard for an easy homemade dessert.
- Prep Time: 15 minutes
- Cook Time: 31-35 minutes
- Total Time: about 50 minutes
- Yield: 1 pan of brownies
- Category: Dessert
- Method: Baking
- Cuisine: American
Ingredients
- ½ cup cocoa powder
- 8 TBSP cup salted butter (you can use unsalted, but add an extra ½ tsp salt)
- 1 ¾ cup semi-sweet chocolate chips + ¼–½ cup semi-sweet or dark chocolate chips for folding in
- 2 whole eggs + 1 egg yolk
- ¾ cup granulated sugar
- ¾ cup brown sugar
- 1 TBSP vanilla extract
- ½ cup sourdough discard
- 1 cup all-purpose flour + 1 TBSP all-purpose flour
- ¼ tsp salt
Instructions
- Preheat oven to 350°F. Line a 9×9 baking pan with parchment paper, leaving overhang for easy removal.
- In a medium saucepan, or microwave safe bowl, slowly melt the butter and 1 3/4 cup semi sweet chocolate chips, vanilla, and cocoa powder until thick, smooth and glossy. Remove from heat and set aside.
- In the bowl of a stand mixer or large mixing bowl, beat the eggs, egg yolk, granulated sugar, and brown sugar for 5-7 minutes until the mixture becomes lighter in color and slightly thickened.
- Add the melted chocolate mixture and sourdough discard. Mix until smooth and fully combined.
- Add the flour and salt. Mix just until the batter comes together. This will be thick
- Fold in ¼–½ cup chocolate chips with a spatula.
- Spread the batter evenly into the prepared pan.
- Bake for 31–33 minutes, or until the edges are set and a toothpick inserted in the center shows moist crumbs.
- Allow brownies to cool completely before lifting from the pan and slicing.
Notes
The extra tablespoon of flour helps shift the texture slightly from very fudgy, toward slightly chewy.
Whisking cocoa powder into the warm melted chocolate deepens the chocolate flavor and creates a smoother batter.
Let brownies cool completely before slicing for clean edges.
Pan Note
For an 11×7 pan, bake about 35 minutes since the batter layer will be slightly thicker.
Recipes That Pair Well With This
These brownies make an easy dessert after dinner and pair well with many of our comfort-food favorites.
Try serving them after a meal like our Creamy Beef Enchiladas or alongside a simple bowl of Mexican Restaurant Style Spanish Rice and tacos for a family-style dinner.
They are also a perfect sweet finish after cozy meals like Crockpot Chicken and Dumplings or a warm bowl of Chili with our Classic Homemade Cornbread.
For a simple dessert plate, serve these brownies with a dollop of Homemade Whipped Cream.
More Recipes to Try
If you enjoy homemade desserts like these brownies, you might also like:
• Sourdough Discard Crepes
• Sourdough Discard Pancakes
• Sourdough Discard Cinnamon Rolls
• Bakery Style Double Chocolate Chip Cookies
• White Chocolate Macadamia Nut Cookies
• No Bake Scotcheroos
• Butterscotch Haystacks
• Frosted Lemon Sugar Cookie Bars
• Chocolate Chip Cookie Cake
Each of these recipes brings the same homemade, from-scratch flavor that makes baking at home so rewarding.
Tips for Little Helpers
This is a great recipe to make with kids in the kitchen.
Little helpers can:
• Pour the chocolate chips into the batter
• Help scrape the bowl with a spatula
• Place parchment paper into the pan
• Taste a tiny bit of chocolate from the spatula

Some of our favorite baking memories happen right at the counter while recipes like this are coming together.
Tips for Success
• Do not overmix the batter once the flour is added
• Use parchment paper so the brownies lift out easily
• Allow brownies to cool completely before slicing
• Slightly underbaking helps keep brownies fudgy
• Use good quality chocolate for the best flavor
FAQs
Does sourdough discard make brownies taste sour?
No. The discard adds a subtle depth of flavor but the brownies still taste rich and chocolatey.
Can I use active sourdough starter?
Yes, active starter will work, but discard is typically easier since it does not require feeding first, and offers a little more tang.
Can I leave out the chocolate chips?
Yes. The brownies will still be rich and fudgy even without them.
Storage
Store brownies in an airtight container at room temperature for up to 3 days. They will remain soft and fudgy.
For slightly longer storage, keep them in the refrigerator for up to 5 days.
Freezing Instructions
Brownies freeze very well.
Allow the brownies to cool completely, then wrap them tightly in plastic wrap and place them in a freezer-safe container or bag.
Freeze for up to 3 months. Thaw at room temperature before serving.
Variations
• Add chopped walnuts or pecans for texture
• Swap chocolate chips for dark chocolate chunks
• Stir in white chocolate, butterscotch, or peanut butter chips
• Add a swirl of caramel before baking
Final Thoughts
Chocolate chip sourdough brownies are one of those recipes that quietly become a regular in the kitchen. They are simple, rich, and a perfect way to use sourdough discard without making another loaf of bread.
Whether they are baked for a family movie night, shared with friends, or made with a small helper standing beside you at the counter, these brownies always seem to disappear quickly.
While you’re here, browse all my Dessert Recipes
Leave a Reply