This post may contain affiliate links. As an Amazon Associate, I earn from qualifying purchases.
If you’ve ever started a recipe only to realize you’re out of sweetened condensed milk, you know how quickly it can derail your plans. The good news? This homemade version is incredibly simple, uses basic pantry staples, and delivers the same thick, glossy texture you expect from the canned classic.
Learning how to make sweetened condensed milk at home is a valuable baking skill that gives you more flexibility in the kitchen — especially when you’re in the middle of a recipe and need a reliable substitute.
Making sweetened condensed milk from scratch also gives you more control over sweetness and flavor — and once you see how easy it is, you may never feel the need to run to the store again.
Whether you’re preparing no-bake desserts, homemade fudge, pies, or even coffee drinks, this foundational recipe is one you’ll come back to again and again.
👉 Want more from scratch basics? See our Baking Basics on our Kitchen Basics page
👉 Be sure to save this — it’s a powerful pantry recipe that supports dozens of desserts across your kitchen.
Why You’ll Love This Recipe
- Pantry-friendly: Made with simple ingredients you likely already have.
- Reliable substitute: Works as a 1:1 replacement for canned sweetened condensed milk.
- Rich and creamy: Thickens beautifully as it reduces.
- Versatile: Perfect for desserts, candies, sauces, and beverages.
- Make-ahead friendly: Stores well so you can prep it before holiday baking.
Ingredients You’ll Need
- Whole milk — Provides the rich base needed for proper reduction. Avoid lower-fat milk for best results.
- Granulated sugar — Sweetens the milk while helping create the signature syrupy texture.
- Salt — A small amount balances the sweetness and enhances flavor.
- Vanilla extract — Adds warmth and bakery-style depth.
Equipment Needed
- Heavy-bottomed saucepan — Promotes even heat and prevents scorching.
- Whisk — Helps dissolve the sugar smoothly.
- Fine mesh strainer (optional) — Useful if you want an ultra-smooth finish.
- Glass jar or airtight container — Ideal for refrigeration and easy pouring.
How to Make Homemade Sweetened Condensed Milk
The magic of this recipe comes from controlled reduction — slowly simmering milk and sugar so excess water evaporates while the sugars concentrate (Condensed).
Start by gently heating the mixture just until the sugar dissolves. Once it reaches a low simmer, resist the urge to rush the process. Keeping the heat moderate prevents scorching and allows the milk proteins to condense properly, creating that silky texture.
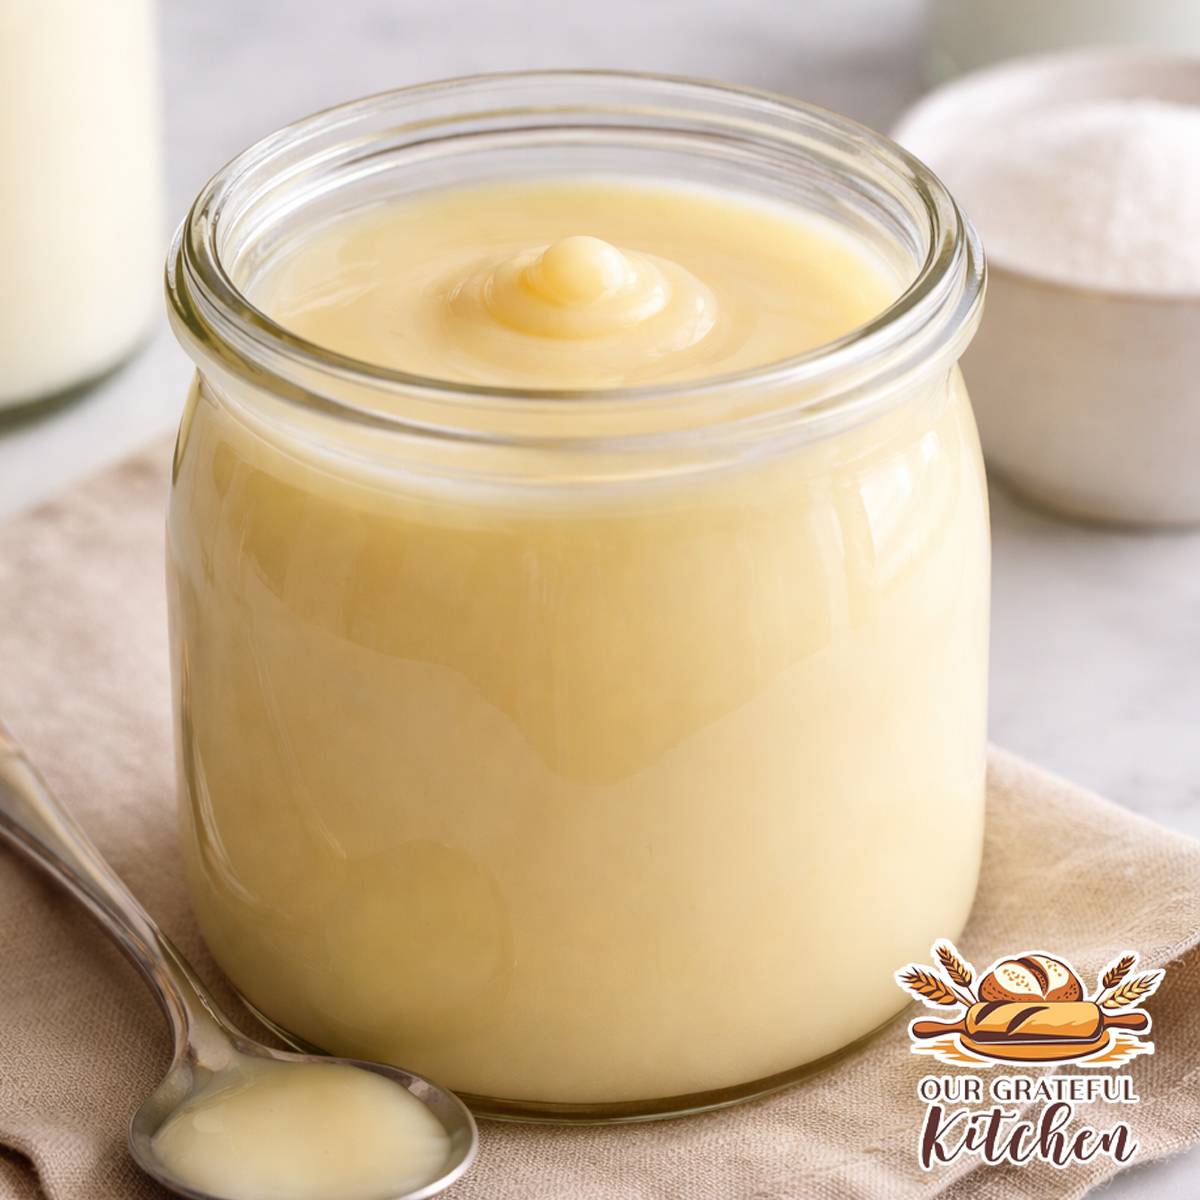
You’ll know it’s ready when the mixture reduces by about half and coats the back of a spoon. It may look slightly thin while hot, but it thickens significantly as it cools — this is exactly what you want.

Stir in vanilla at the end to preserve its flavor, then allow the condensed milk to cool completely before storing.
This post may contain affiliate links. As an Amazon Associate, I earn from qualifying purchases.
PrintHomemade Sweetened Condensed Milk

A simple homemade sweetened condensed milk you can use as a 1:1 substitute for the canned version in desserts, candies, coffee drinks, and no-bake recipes.
- Prep Time: 5 minutes
- Cook Time: 30-45 minutes
- Total Time: about 45 minutes
- Yield: 1 cup
- Category: Sauces
- Cuisine: American
Ingredients
- 2 cups whole milk
- 3/4 cup granulated sugar (Use less for a less “rich” flavor)
- 1/4 tsp salt
- 2 tsp vanilla extract
Instructions
-
Dissolve sugar: Add milk, sugar, and salt to a medium heavy-bottomed saucepan. Heat over medium-high, whisking just until the sugar dissolves and the milk reaches a very gentle simmer.
-
Simmer to reduce: Reduce heat to maintain a low simmer. Simmer uncovered, stirring occasionally to prevent scorching, until reduced by about half and thickened to a maple-syrup consistency (about 30–45 minutes).
-
Finish: Remove from heat and stir in vanilla. If needed, strain through a fine mesh strainer to remove any solids/foam. Cool completely (it thickens more as it cools).
Notes
-
Once the sugar is dissolved, avoid vigorous whisking to help prevent crystals along the sides of the pan.
-
If it thickens too much after chilling, microwave in 10-second bursts until pourable
Tips for Success
- Keep the heat gentle. Rapid boiling can cause separation or graininess.
- Stir occasionally, not constantly. Over-stirring can encourage sugar crystallization.
- Watch the reduction, not the clock. Humidity and stove strength can affect cook time.
- Expect thickening as it cools. Don’t over-reduce or it may become too dense.
Storage & Reheating
Store: Refrigerate in an airtight container for up to 1 month.
Reheat: If it thickens too much, microwave in 10-second intervals, stirring between each, until pourable.
Frequently Asked Questions
Is this a true substitute for canned sweetened condensed milk?
Yes — it works as a 1:1 replacement in most baking and dessert recipes.
Why is my condensed milk not thick yet?
It thickens considerably as it cools. If it coats a spoon while warm, it will set up properly.
Can I freeze sweetened condensed milk?
Freezing isn’t recommended because it can alter the texture once thawed.
What if it becomes too thick?
Simply warm it gently and stir in a teaspoon or two of milk until you reach the desired consistency.
Variations & Serving Ideas
This is a powerhouse ingredient that opens the door to countless recipes.
Use it in:
- Homemade fudge
- Magic cookie bars
- Key lime pie
- Pumpkin desserts
- Crockpot candies
- Ice cream bases
- Cheesecake fillings
👉 It pairs especially well with our classic cheesecake and dessert sauce recipes — making it a smart foundational staple to keep on hand.
Final Thoughts
Every well-stocked kitchen benefits from a few foundational recipes, and homemade sweetened condensed milk is one of the most useful you can master. It’s simple, dependable, and dramatically expands what you can make without an extra trip to the store.
Once you try it, you’ll start seeing opportunities to use it everywhere.
Leave a Reply