This post may contain affiliate links. As an Amazon Associate, I earn from qualifying purchases.
If you’ve ever wondered whether homemade mayonnaise is worth the effort, the answer is a confident yes — especially when it takes just two minutes and delivers a flavor that store-bought versions simply can’t match.
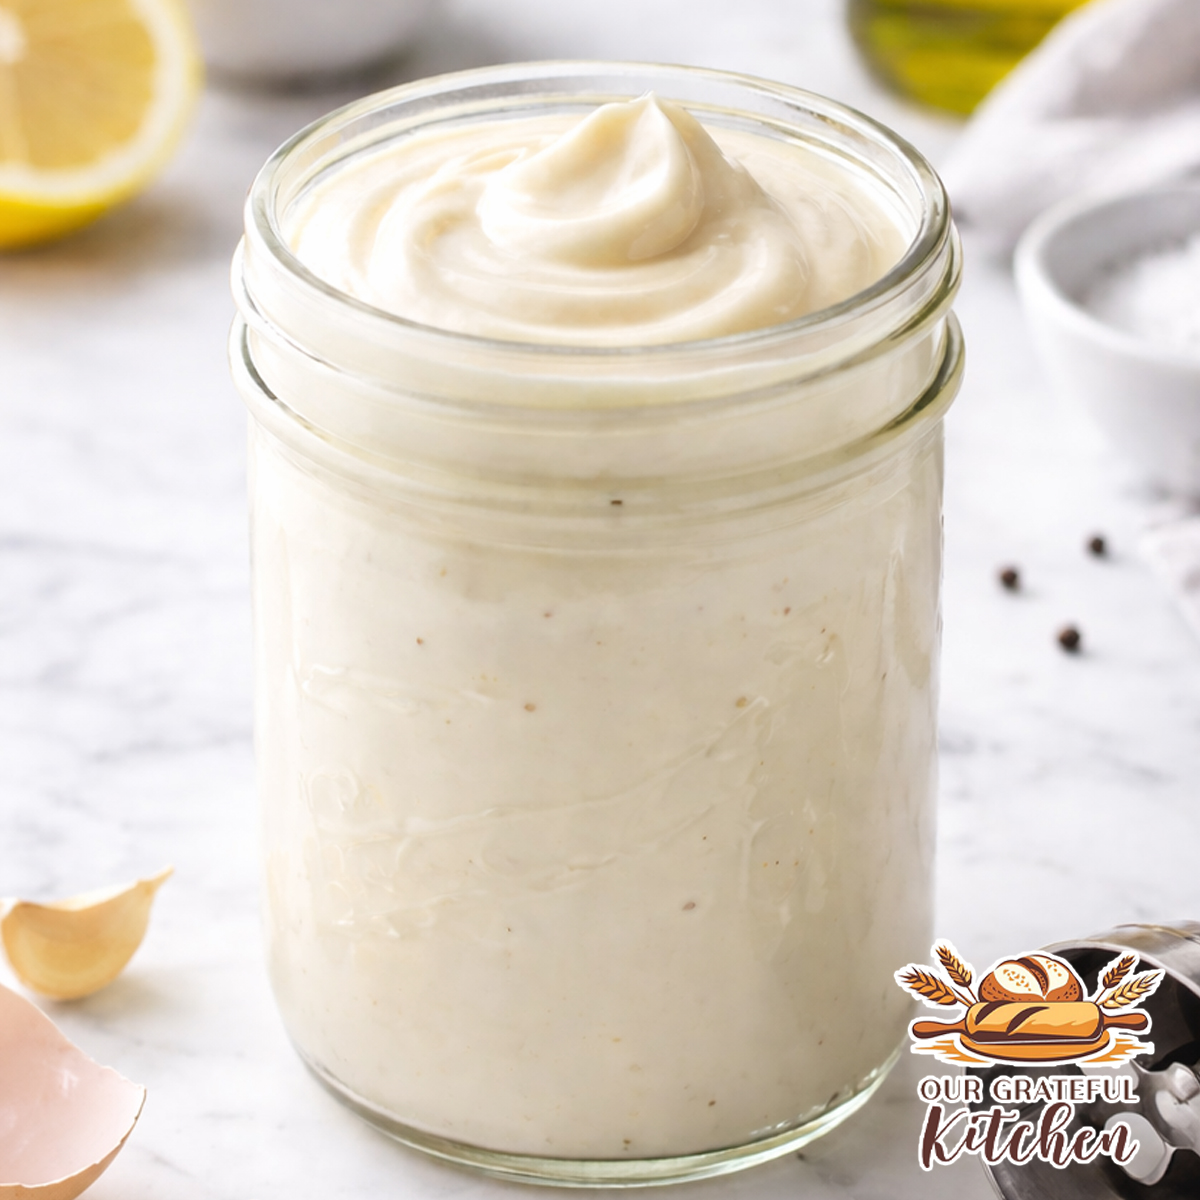
This immersion blender method removes nearly all of the guesswork from traditional mayonnaise. Instead of slowly whisking and hoping the emulsion forms, this technique creates a thick, ultra-creamy mayo in seconds with remarkably consistent results.
If you enjoy cooking from scratch, recipes like this are the foundation of a well-stocked kitchen. Be sure to browse our Kitchen Basics collection for more essential recipes that help you cook with confidence and reduce reliance on packaged ingredients.
Once you master this mayonnaise, you’ll find endless ways to use it — from sandwiches and wraps to our upcoming Classic Deviled Eggs and homemade Chicken Salad, where fresh mayo makes a noticeable difference in both texture and flavor.
Why You’ll Love This Recipe
- Ready in about 2 minutes
- Nearly fail-proof
- Rich, fresh flavor
- Uses simple pantry ingredients
- More economical than specialty store brands
- The perfect base for sauces and dressings
Homemade mayonnaise is one of those small upgrades that elevates everyday meals.
Ingredients
You only need a handful of refrigerator and pantry staples to make this smooth, stable emulsion.
- egg
- Dijon mustard
- fresh lemon juice
- neutral oil such as avocado oil
- salt
- optional white vinegar
👉 Ingredient measurements are listed in the recipe card below.

Equipment Needed
- Immersion blender — The easiest way to create a fast, stable emulsion with minimal effort.
- Wide-mouth mason jar — The narrow shape helps the mayonnaise form properly.
- Silicone spatula — Ideal for scraping every bit from the jar.
How to Make Mayonnaise (The Immersion Blender Method)
Mayonnaise is simply an emulsion — a stable mixture of fat and liquid that normally resist combining. The egg and mustard act as natural emulsifiers, allowing the oil to disperse into microscopic droplets that create a thick, creamy texture.
Starting with the blender positioned at the bottom of the jar encourages the emulsion to form quickly and reliably. Once the base thickens, gradually lifting the blender incorporates the remaining oil without breaking the mixture.

Room temperature ingredients are especially helpful here, as they blend more smoothly and reduce the risk of separation.
The result is a mayonnaise that is noticeably fresher, lighter, and more flavorful than most store-bought options.
This post may contain affiliate links. As an Amazon Associate, I earn from qualifying purchases.
PrintFail-Proof 2-Minute Immersion Blender Mayonnaise

Ultra creamy, fail-proof homemade mayonnaise made in just 2 minutes using an immersion blender. This easy from-scratch staple is perfect for deviled eggs, chicken salad, sandwiches, and homemade sauces.
- Prep Time: 2 minutes
- Cook Time: 0 minutes
- Total Time: 2 minutes
- Yield: 1 cup
- Category: Basics, Condiment, Condiments, Sauces
- Cuisine: American
Ingredients
- 1 large egg, room temperature
- 1 TBSP Dijon mustard
- 1 TBSP fresh lemon juice
- 1 cup neutral oil (avocado oil preferred; light olive oil works)
- ½ tsp salt
- Optional: ½ tsp white vinegar for extra brightness!
👉 Note: Avoid extra virgin olive oil — it can taste bitter when emulsified.
Instructions
- Add the egg, Dijon mustard, lemon juice, and salt to a wide-mouth mason jar or immersion blender cup.
- Pour the oil directly on top. Do not stir.
- Place the immersion blender at the very bottom of the jar, fully covering the egg.
- Turn the blender on and hold it still for about 10–15 seconds while the mixture emulsifies.
- Once the base is thick, slowly lift the blender to incorporate the remaining oil.
- Blend until thick, smooth, and creamy.
- Taste and adjust salt or lemon juice if desired.
Notes
Room temperature ingredients emulsify far more reliably.
Use a container only slightly wider than the blender head.
Do not move the blender too early — let the emulsion form first.
If the mayo seems thin, blend a few seconds longer.
Tips for Success
- Use a neutral oil. Avocado oil produces a clean, balanced flavor.
- Keep the blender still at first. Moving too soon is the most common reason mayo fails to thicken.
- Choose the right container. A jar just slightly wider than the blender head works best.
- Start with room temperature ingredients for the most reliable emulsion.
Storage & Reheating
Store: Refrigerate in an airtight container for up to one week.
Because this mayonnaise is made without preservatives, freshness matters — but the flavor payoff is well worth it.
Do not freeze, as the emulsion will separate.
Variations & Serving Ideas
Once you’ve mastered classic mayonnaise, it becomes a versatile base for countless recipes.
Try using it in:
- creamy pasta salads
- sandwich spreads
- burger sauces
- homemade dressings
- potato salad
It will soon shine in our Classic Deviled Eggs and Homemade Chicken Salad, where the richness and freshness noticeably improve the finished dish.
For another foundational skill, explore our Kitchen Basics recipes to continue building your from-scratch repertoire.
Frequently Asked Questions
Is homemade mayonnaise safe to eat?
Use fresh, high-quality eggs. If preferred, pasteurized eggs provide additional peace of mind.
Why didn’t my mayonnaise thicken?
Cold ingredients or lifting the blender too early are the most common causes.
What oil is best for homemade mayonnaise?
Avocado oil is ideal for both flavor and stability, though light olive oil works well too.
Can I make mayonnaise without Dijon mustard?
Yes, but Dijon helps stabilize the emulsion and enhances overall flavor.
Final Thoughts
Learning to make mayonnaise at home is one of those simple kitchen skills that delivers outsized rewards. It takes only minutes, yet instantly upgrades everything from sandwiches to holiday favorites.
As you continue building confidence in the kitchen, foundational recipes like this make cooking feel easier, more intuitive, and far more rewarding.
And once you try it, you may never go back to the jar.
Leave a Reply