This post may contain affiliate links. As an Amazon Associate, I earn from qualifying purchases.
From time to time I will get into a real homemade bread kick in my house, where I am baking fresh bread every single day. I don’t always make the same bread, I like to make different variations from my ever growing Bread Recipes category. However, at some point we usually will end up with some leftover scraps of bread once we’ve all had our fill – but, being the frugal girl that I am, I don’t really like to let any of my hard work go to waste, so I will often turn my leftover bread into these homemade croutons.
If you have been reading my posts for a while, you’ll remember that I mentioned before how we keep the same Weekly Lunch Menu in rotation at our house to help with meal planning and decision fatigue throughout the week. Our family likes to have Chicken Salads once a week, and having these croutons on hand just makes sense for us. (You print my free printable lunch menu and use our plan or use my blank menu to create your own too!)
So, instead of tossing leftover bread, I’ll cube it, season it, and turn into something that feels intentional and a little special – because IT IS! These are the kind of simple upgrades that make each meal feel just a little more like home.
They’ve become a regular part of our kitchen basics rotation right alongside staples like Homemade Taco Seasoning and Homemade Brown Gravy Mix—simple recipes that save money, taste better, and keep you from relying on store-bought versions that never quite hit the same.
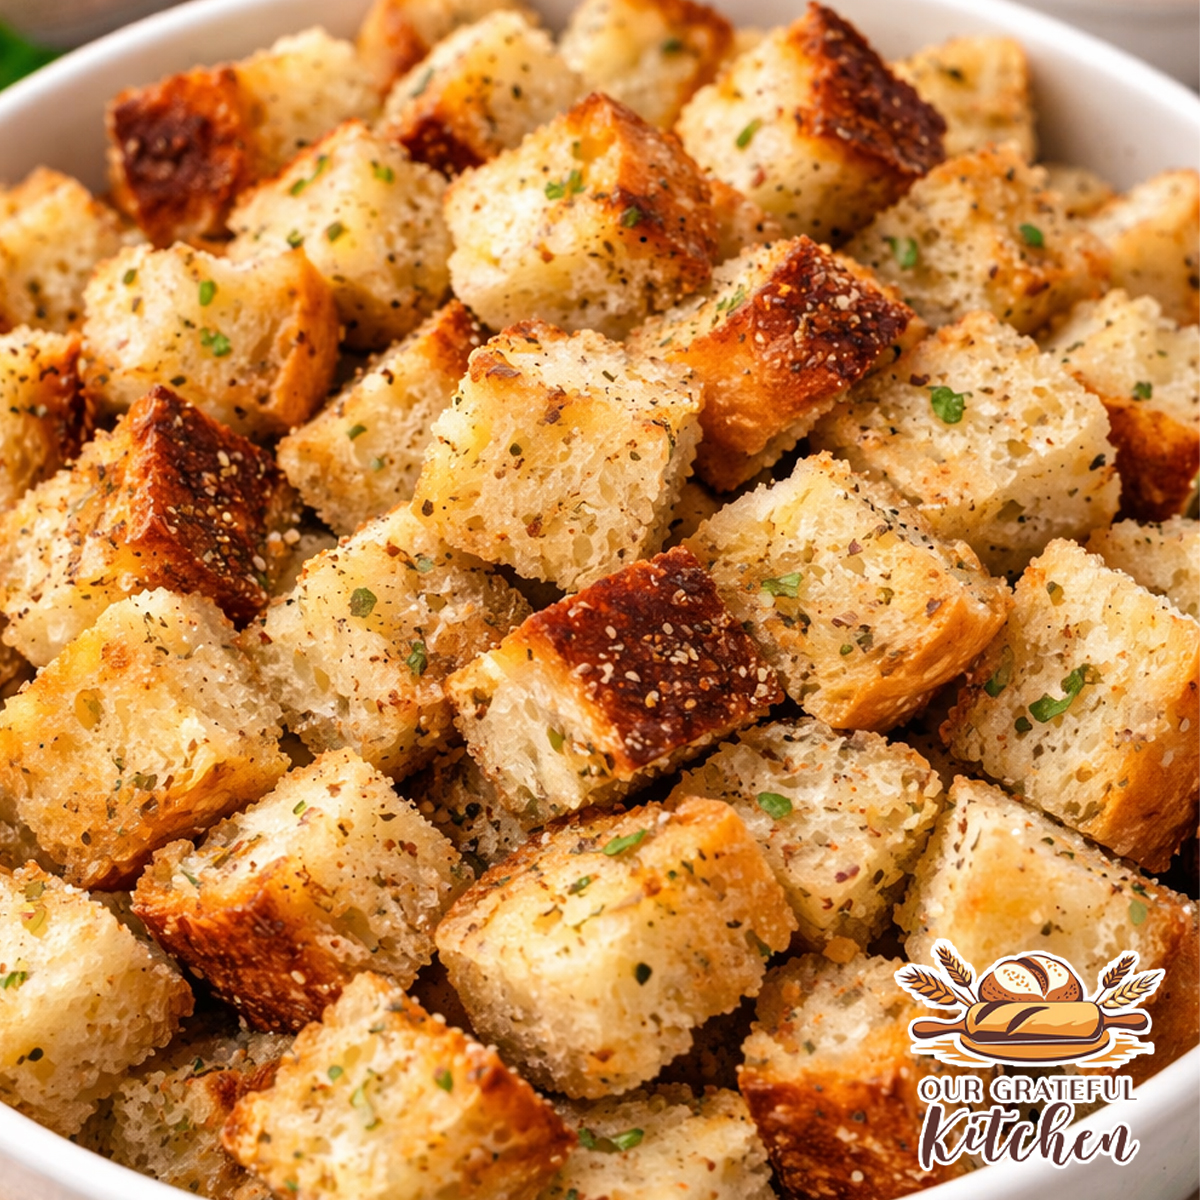
Once you make a batch of these, it’s hard to go back. They’re crisp, golden, and actually taste like real bread—perfect for topping soups, adding crunch to salads, or even just grabbing by the handful while you’re cooking dinner.
The best thing about these is you can easily chop up any of your leftover bread, whether it’s Homemade Breadsticks, No Knead Dutch Oven Cheesy Bread, Jalapeño Cheddar Bread, or even Egg-Free Bread, it can be turned into a tasty topping for salad OR your favorite Soup!
If you’d like to see all my Bread Recipes – be sure to click over before leaving!
Why You’ll Love This Recipe
- Perfectly golden and crisp (not too dark or bitter)
- Made with simple pantry ingredients
- Great way to use up leftover or stale bread
- Customizable with different seasoning blends
- Budget-friendly kitchen staple
- Better texture and flavor than store-bought
Ingredients
- Left over stale bread (you can dry your bread out by sticking it in the toaster or air fryer before seasoning.)
- Olive oil
- Italian seasoning
- Garlic powder
- Onion powder
- Salt
- Black pepper
")
Equipment
- Baking sheet – A sturdy sheet pan ensures even browning and helps prevent hot spots that can burn smaller pieces
- Mixing bowl – Tossing the bread thoroughly in a large bowl helps evenly coat every piece with oil and seasoning
- Sharp bread knife – A good knife makes it easier to cut uniform cubes, which is key for even baking
- Parchment paper – Prevents sticking and keeps cleanup simple, especially when seasoning and crumbs bake onto the pan
This same setup works beautifully for other Kitchen Basics and baked recipes like Bakery Style Double Chocolate Chip Cookies and Sugar Cookie Bars, where even baking and texture matter just as much.
How to Make
The key to great croutons isn’t complicated ingredients—it’s controlling moisture, oil, and timing.
Start with bread that’s slightly stale. Fresh bread holds too much moisture and tends to stay soft in the center, while drier bread allows the croutons to crisp all the way through. (If your bread is too fresh, you can dry it out by briefly popping it in the air fryer or toaster.) As you cut your bread, aim for uniform pieces. Even small differences in size can lead to some pieces browning perfectly while others overcook. For this batch I used leftover Challah Bread (recipe coming soon!) But you can use any of my Homemade Bread Recipes or even old store bought bread.

Once the bread is cubed, the focus shifts to coating.

Instead of dumping everything together, first mix the oil and seasonings together before drizzling onto the bread and tossing thoroughly so every piece is lightly coated without becoming saturated. This step determines whether your croutons roast or end up greasy.


Seasoning works best when it’s evenly distributed before baking. Mixing the herbs and spices into the oil before coating bread helps them adhere evenly instead of falling to the pan and burning. That’s the difference between croutons that taste balanced and ones with bitter, over-toasted seasoning bits.

When the croutons go into the oven at 375°F, the goal is controlled browning. They don’t need a long bake—just enough time to dry out and develop golden edges. Flipping halfway through helps expose all sides to heat, but overhandling can break them down.
")
The most important moment is the last few minutes. This is where croutons move quickly from golden to too dark. Pull them when they’re lightly golden and still feel slightly soft in the center. As they cool, they’ll firm up into that perfect crisp texture.
This same kind of technique—watching texture more than the clock—is what makes recipes like perfectly easy no-bake cookies and easy meringue cookies come out consistently.
This post may contain affiliate links. As an Amazon Associate, I earn from qualifying purchases.
PrintHomemade Croutons (Golden, Crispy, and Perfect Every Time)

These homemade croutons are crisp on the outside, light inside, and evenly seasoned in every bite. With the right oil ratio, controlled bake time, and properly balanced salt, they come out perfectly golden—not too dark—and better than anything store-bought.
- Prep Time: 10 minutes
- Cook Time: 16-18 minutes
- Total Time: 26 minutes
- Yield: 4-5 cups of croutons
- Category: Basics
- Method: Baking
- Cuisine: American
Ingredients
- 4 cups stale bread, cut into ¾–1 inch cubes
- 6 TBSP olive oil
- 2 tsp Italian seasoning
- 1 tsp garlic powder
- 1 tsp onion powder
- ¾ tsp salt
- ¼ tsp black pepper (optional)
Instructions
- Preheat your oven to 375°F. This slightly higher temperature helps create crisp edges quickly, but keeping the bake time shorter prevents the croutons from becoming too dark.
- Place the bread cubes in a large mixing bowl. Try to keep the pieces relatively uniform so they bake evenly.
- Drizzle the olive oil over the bread and toss thoroughly until all pieces are lightly coated. The goal is even coverage without excess oil pooling in the bowl.
- Sprinkle in the Italian seasoning, garlic powder, onion powder, salt, and black pepper. Toss again until the seasoning is evenly distributed and adhered to the bread.
- Spread the bread cubes in a single layer on a parchment-lined baking sheet, leaving space between pieces so they roast instead of steam.
- Bake for 15–18 minutes, flipping once halfway through. Begin checking at 15 minutes. The croutons are done when they are light golden brown with crisp edges and feel dry to the touch.
- Remove from the oven and allow them to cool completely. They will continue to crisp as they cool.
Notes
- Salt Balance Matters: ¾ tsp provides even seasoning without overpowering the herbs
- Optional Finishing Salt: For extra flavor, lightly sprinkle a small pinch of salt immediately after baking while the croutons are still hot and shiny
- Pull Early: Slight softness in the oven = perfect crisp after cooling
- Uniform Cuts: Prevent smaller pieces from over-browning
- Watch the Last Few Minutes: This is where they can go from golden to too dark quickly
Variations
- Garlic Butter Croutons: Use melted butter instead of oil
- Italian Parmesan Croutons: Add 2 TBSP finely grated parmesan before baking
- Ranch Croutons: Toss with your homemade ranch seasoning
- Spicy Croutons: Add a pinch of cayenne or red pepper flakes
Recipes That Pair Well With This
- Serve over homemade roasted tomato soup (homemade soup) for a classic comfort combo
- Add to a side salad with ranch seasoning mix or greek yogurt ranch for extra flavor
- Top a bowl of chili alongside cornbread for a Midwest-style meal
- Add to salads with juicy garlic herb chicken for a complete dinner
- Serve with chopped air fryer bacon in your salad
More Recipes to Try
- Homemade taco seasoning
- Homemade brown gravy mix
- Bakery-style cinnamon rolls (same day or overnight)
- Chocolate chip cookie cake
- Lemon sugar cookie bars
- Frosted Sugar cookie bars
- Perfectly easy no-bake cookies
- Easy meringue cookies
Tips for Little Helpers
- Let kids help toss the bread cubes with oil and seasoning
- Have them sprinkle in the seasoning blends
- Older kids can help cut bread with supervision
- Let them taste-test and help decide if more seasoning is needed
Tips for Success
- Use slightly stale bread for best texture
- Keep cubes uniform for even baking
- Don’t overcrowd the pan—space helps them crisp
- Watch closely after 15 minutes to prevent over-browning
- Let them cool completely before judging texture
FAQs
Can I use fresh bread instead of stale?
Yes, but letting it sit out for 30–60 minutes first helps remove excess moisture so the croutons crisp properly.
Why are my croutons too dark?
They were likely baked too long or at too high a temperature. Pull them when they are light golden—they will continue to crisp as they cool.
How do I keep them from getting soggy?
Make sure they are fully cooled before storing and keep them in an airtight container.
Can I make these without butter?
Yes, this recipe uses olive oil, which gives great flavor and helps them crisp evenly.
Storage
Store completely cooled croutons in an airtight container at room temperature for up to 1 week.
Freezing Instructions
Freeze croutons in a sealed bag for up to 2 months. Reheat in a 300°F oven for a few minutes to restore crispness.
Variations
- Garlic butter croutons (use melted butter instead of oil)
- Italian parmesan croutons
- Ranch croutons using homemade ranch seasoning
- Spicy croutons with red pepper flakes
- Sourdough croutons for extra texture
Final Thoughts
This is one of those simple recipes that quietly upgrades everything it touches. It takes something as basic as leftover bread and turns it into a pantry staple that adds texture, flavor, and just a little extra care to everyday meals.
Once you get the timing and technique right, it becomes second nature—and one more thing you’ll never need to buy at the store again.
Leave a Reply