This post may contain affiliate links. As an Amazon Associate, I earn from qualifying purchases.
There’s something magical about pulling a loaf of homemade bread out of the oven — even more so when it’s made without eggs, milk, or dairy. This simple egg-free homemade bread is soft, satisfying, and made with basic pantry ingredients you likely already have on hand. Whether you’re out of eggs or baking for dietary needs, this loaf rises beautifully, tastes great, and works equally well sliced fresh or toasted for sandwiches.
Why You’ll Love This Egg-Free Bread
- Completely egg-free, making it great for allergies or shortages
- Soft texture that holds up well for sandwiches
- Made with basic pantry staples
- Produces two loaves, perfect for freezing
- Simple, classic flavor that pairs with both sweet and savory toppings
Ingredients You’ll Need

This recipe uses everyday baking staples you likely already have on hand:
- Warm water
- Active dry yeast
- Honey or sugar
- Salt
- Vegetable oil
- All-purpose or bread flour
Exact measurements are listed in the recipe card below.
Kitchen Tools You’ll Need
- Stand mixer with dough hook – I use my KitchenAid for most of my bread recipes. It saves time and effort when kneading, especially with softer doughs like this one, but hand-kneading works just fine too.
- Loaf pans – For baking the shaped bread
- Measuring cups & spoons – For accurate ingredient amounts
- Mixing bowl – For combining dough ingredients
- Silicone baking mat or lightly floured surface – I prefer this silicone baking mat for kneading and shaping dough since it helps prevent sticking and makes cleanup easier, but a floured surface works too.
- Clean kitchen towel – For covering dough while it rises
How to Make Egg-Free Bread
This bread dough is straightforward but reliable: warm water works with yeast to build natural lift and structure without the need for eggs or dairy.

Mixing a bit of sugar helps the yeast activate and gives just a touch of sweetness to the loaf. A tender crumb comes from incorporating oil into the dough, which also keeps the bread softer longer than tack-free lean doughs.
As you incorporate flour gradually, aim for a dough that is soft but not wet. Too dry dough won’t rise well, and too sticky dough will be hard to shape — there’s a sweet spot in between that yields an airy yet substantial loaf.

Kneading develops the gluten network that allows the dough to trap air and rise properly. Whether you use a dough hook on a stand mixer or knead by hand, the result should be smooth and elastic dough that bounces back gently when pressed. After rising, the dough is shaped and given one more short rise so it can continue building small air pockets, which lead to that soft texture inside.

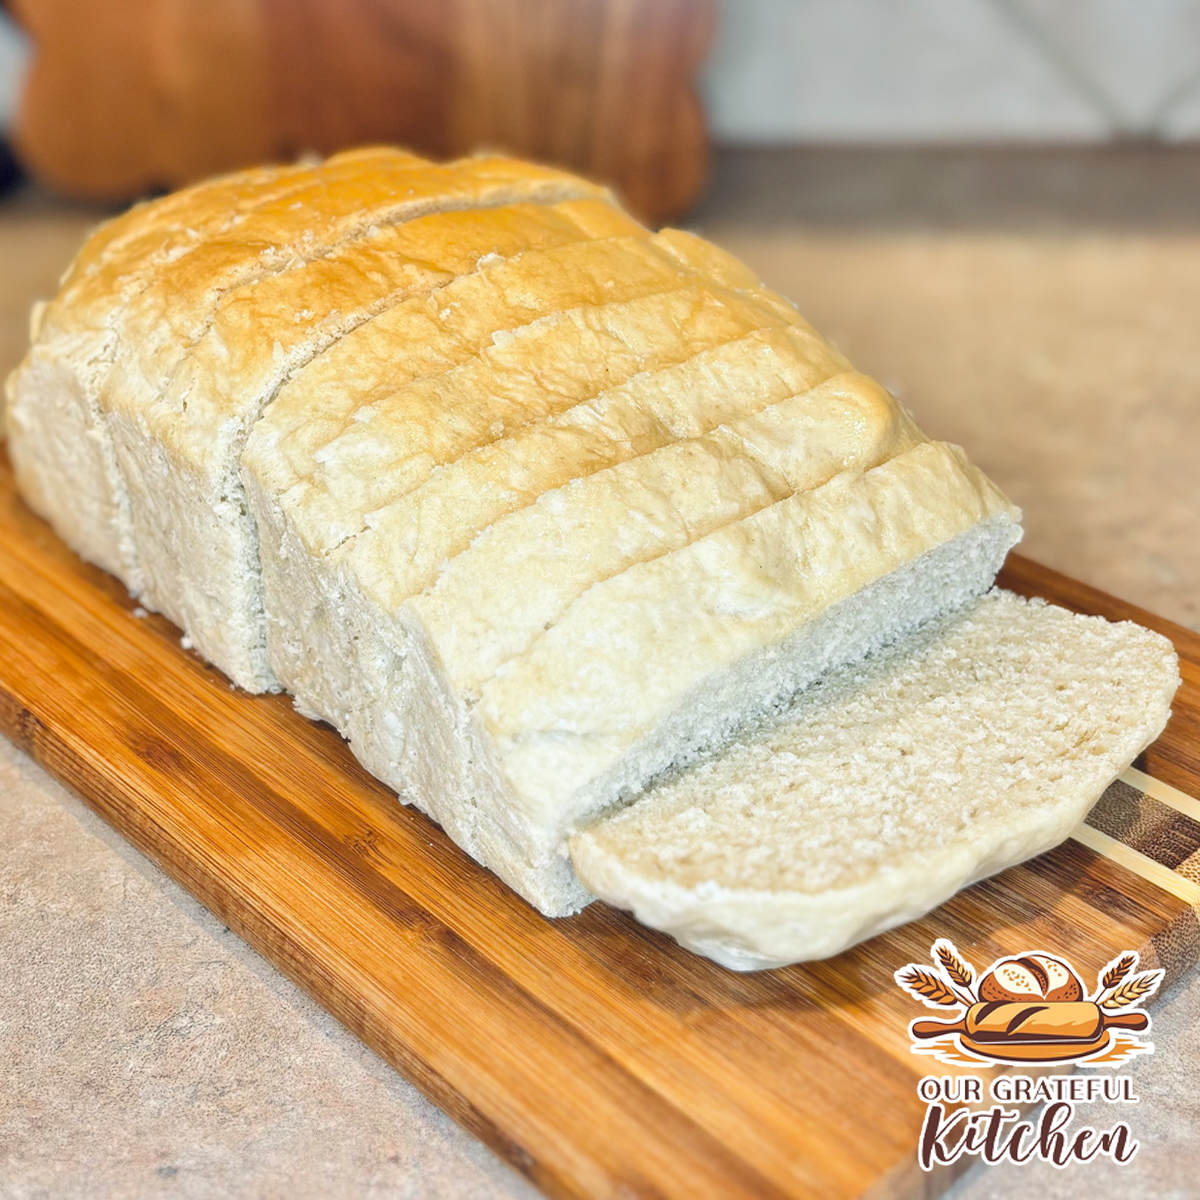
Baking at a moderate temperature gives the bread a nice golden exterior without over-browning too quickly. Once the loaf is cool enough to handle, it slices beautifully for toast, sandwiches, or alongside Soup Recipes like Creamy Chicken and Rice Soup and stews.

The result is a soft, dependable loaf with a tender crumb and classic homemade flavor.
Enjoy the first loaf fresh, and after a couple days use the second loaf to make our famous Cinnamon Sugar French Toast Sticks!
This post may contain affiliate links. As an Amazon Associate, I earn from qualifying purchases.
PrintEgg-Free Homemade Bread (Soft & Easy Sandwich Loaf)

This soft, classic egg-free homemade bread is simple to make with pantry staples and no eggs required. It bakes up tender with a light crumb, perfect for sandwiches, toast, or enjoying warm with butter. This recipe makes two loaves and freezes beautifully.
- Prep Time: 25 minutes
- Rise Time: 1-3 hours
- Cook Time: 35 minutes
- Total Time: 2-4 hours (Depending on rise time)
- Yield: 2 Loaves
- Category: Bread
- Cuisine: American
Ingredients
- 2 cups warm water (about 105–115°F)
- 1 TBSP active dry yeast
- ¼ cup honey (you may swap honey for granulated sugar, but I prefer honey)
- 2 tsp salt
- 2 TBSP vegetable oil
- 4½ to 5½ cups all-purpose flour
Instructions
- Activate the yeast
In a large mixing bowl or stand mixer, combine the warm water, yeast, and 1 TBSP of the honey (or sugar.) Let sit for 10 minutes, until foamy and bubbly. - Build the dough
Add the remaining honey or sugar, salt, oil, and 3 cups of flour. Mix with wooden spoon or rubber spatula until combined. - Add remaining flour
Transfer dough to your stand mixer fitted with dough hook and continue mixing while adding flour ½ cup at a time, until the dough begins pulling away from the sides of the bowl. The dough should feel soft and slightly tacky but not sticky. You can do this by hand if necessary, but be ready for an arm workout! - Knead
Knead using a stand mixer on low-medium speed for 5 minutes, or by hand on a lightly floured surface for 10 minutes, until smooth and elastic. - First rise
Lightly grease a large bowl and place the dough inside, turning once to coat. Cover and let rise in a warm spot until doubled in size, about 1½ hours. – One trick I like to use if I’m in a time crunch is to preheat my oven for 2 minutes, then turn it off, and use the slightly warmed oven to rise my dough. I can usually get away with a 30 minute rise using this trick! - Shape the loaves
Grease two 9×5-inch loaf pans. Punch down the dough, divide it evenly in half, and shape each portion into a log. Place into prepared pans. - Second rise
Cover loosely and let rise again for 45–60 minutes, until the dough rises about 1 inch above the pan edges. (Repeat the warm oven trick here too if you need to!) - Bake
Preheat oven to 350°F. Bake for 30-35 minutes, until the tops are golden and the loaves sound hollow when tapped. If you check the internal temperature of the bread, it should be between 190-200. - Cool
Remove from pans and transfer to a wire rack. Brush tops lightly with butter if desired. Cool 10-15 minutes before slicing. - Serve
Serve warm with butter or honey (or both!)
Notes
This bread is completely egg-free and works well for sandwiches and toast.
Store at room temperature in an airtight container for 2–3 days, or refrigerate up to 5 days.
Loaves can be frozen for up to 3 months.
Tips for Success
- Make sure your water is warm to the touch but not hot — overly hot water can kill the yeast, preventing a good rise.
- Add flour gradually to avoid a dry loaf
- If your dough feels too sticky or too dry, add small amounts of flour or water a tablespoon at a time until it feels pliable.
- Punching down the dough after the first rise helps redistribute air pockets and improves the final texture.
- If your loaf isn’t browning the way you want, try placing it a rack higher in the oven or brushing with a tiny bit of oil before baking.
- The bread is done when the internal temperature reaches about 190°F
- Allow the bread to cool slightly before slicing to maintain structure
Storage & Make-Ahead
- Store fully cooled loaves at room temperature in an airtight container for up to 2 days.
- For longer storage, freeze loaves wrapped tightly in plastic wrap and foil for up to 3 months. Thaw at room temperature or warm gently in the oven.
Serving Ideas
This egg-free bread is delicious:
- Sliced and toasted with butter or jam
- French toast (yes, even without eggs in the bread itself)
- Used for classic sandwiches
- Served alongside soups or chili
- Turned into croutons or breadcrumbs
Final Thoughts
This egg-free homemade bread proves you don’t need dairy or eggs to make a satisfying and versatile loaf. With just a few staples and a little time, you can bake bread that smells irresistible and tastes even better than store-bought.
Frequently Asked Questions
Is this bread dairy-free?
Yes, as written this recipe contains no dairy.
Can I make this into one loaf instead of two?
Yes. Simply divide the ingredients in half and bake in one loaf pan, checking for doneness around the 28–30 minute mark.
Can I use bread flour instead of all-purpose flour?
Yes, bread flour works well and will give the loaf a slightly chewier texture.

Leave a Reply