This post may contain affiliate links. As an Amazon Associate, I earn from qualifying purchases.
If you need a reliable dinner that feeds everyone without complaints, these easy baked cheeseburger sliders deliver.
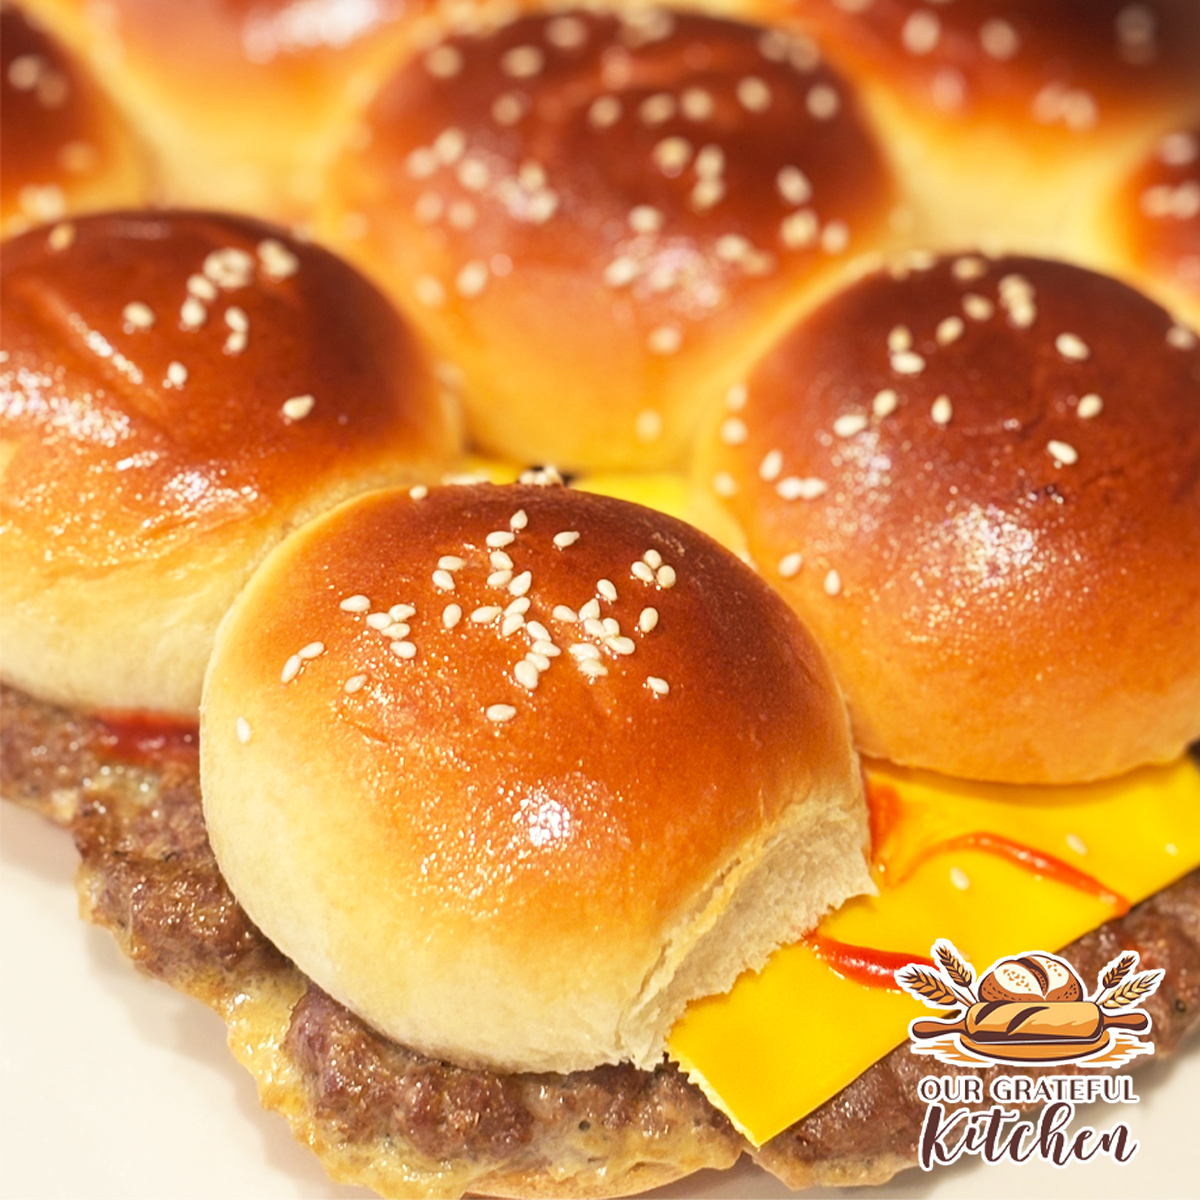
Made with seasoned 80/20 ground beef and baked in one even layer, they slice cleanly, stay juicy, and hold together well. They’re simple enough for a weeknight, but just as practical for birthday parties, game days, or quick lunches before heading to the park.
My kids love these. They feel like a treat, but they’re straightforward to make and easy to transport.
If you’re building out dependable family meals, browse my Easy Dinner Recipes and Sandwich Recipes collections for more practical, repeatable favorites.
Why You’ll Love These Sliders
- Baked in one pan for easy cleanup
- Clean, even slices every time
- Juicy, flavorful 80/20 beef
- Kid-approved and customizable
- Easy to pack for lunches or picnics
- Perfect for feeding a small crowd
Ingredients You’ll Need
- 1 lb 80/20 ground beef
- 1 tsp salt
- 1/2 tsp black pepper
- 1 tsp garlic powder
- 1 tsp onion powder
- 12 Hawaiian-style dinner rolls (kept connected)
- 6 slices cheddar cheese (bottom layer)
- 4 slices cheddar cheese (optional top layer)
- 2 TBSP salted butter, melted
- 1–2 tsp sesame seeds
Optional toppings:
- Mayonnaise (Ran out? Make your own!)
- Ketchup
- Mustard
- Sliced pickles
- Thinly sliced onion
- Sliced tomatoes
- Shredded lettuce
How to Make Easy Baked Cheeseburger Sliders
The key to these sliders is baking the beef in one even layer instead of crumbling it in a skillet. This keeps the meat evenly distributed and creates clean, bakery-style squares when sliced.
Gently mix the seasonings into the ground beef, being careful not to overwork it. Press the beef between parchment paper into a rectangle slightly larger than your slider buns. It will shrink slightly as it bakes.
Bake at 350°F for 20 minutes until fully cooked. Because 80/20 beef releases fat, carefully drain excess grease before transferring the beef slab to the buns.

Place the bottom slab of rolls in your baking dish and layer with cheddar slices. Transfer the cooked beef on top. If using additional cheese, melt it briefly under a low broiler.


Add the top buns, brush with melted salted butter, sprinkle with sesame seeds, and broil again on low just until lightly toasted.
Let the sliders rest a few minutes before slicing for the cleanest cuts.

This post may contain affiliate links. As an Amazon Associate, I earn from qualifying purchases.
PrintEasy Baked Cheeseburger Sliders

These oven-baked cheeseburger sliders are made using a seasoned ground beef slab for clean, even cuts. Juicy 80/20 beef, melted cheddar, buttery sesame tops, and optional classic burger toppings make this an easy family dinner or party favorite.
- Prep Time: 10 minutes
- Cook Time: 26 minutes
- Total Time: 36 minutes
- Yield: 12 sliders
Ingredients
- 1 lb 80/20 ground beef
- 1 tsp salt
- 1/2 tsp black pepper
- 1 tsp garlic powder
- 1 tsp onion powder
- 12 dinner rolls (kept connected)
- 4 slices cheddar cheese (optional bottom layer)
- 6 slices cheddar cheese (top layer)
- 2 TBSP salted butter, melted
- 1–2 tsp sesame seeds
Optional Fresh Toppings (add after baking):
- Mayonnaise
- Ketchup
- Mustard
- Sliced pickles
- Thinly sliced onion
- Sliced tomatoes
- Shredded lettuce
Instructions
-
Preheat oven to 350°F. Line a baking sheet with parchment paper.
-
In a mixing bowl, gently combine ground beef with salt, pepper, garlic powder, and onion powder. Do not overmix.
-
Place beef between two sheets of parchment paper and roll into a rectangle slightly larger than the connected slider buns. (Meat will shrink some as it bakes)
-
Transfer the beef slab (on parchment) to the baking sheet. Bake for 20 minutes, or until fully cooked. Carefully drain excess grease.
-
Slice rolls horizontally, keeping them connected. Place the bottom slab into a lightly greased 9×13 baking dish or sheet pan.
-
If using, arrange 4 slices of cheddar evenly over the bottom buns. (I recommend!)
-
Transfer the cooked beef slab onto the cheese-covered buns.
-
Place 6 additional slices of cheddar over the beef. Broil on LOW for 3 minutes, or until cheese melts. Watch closely.
-
Place the top slab of buns on. Brush with melted salted butter and sprinkle with sesame seeds.
-
Broil on LOW for 2-3 additional minutes, until tops are lightly toasted.
-
Let rest 2–3 minutes. Slice into 12 sliders and add desired fresh toppings before serving.
Notes
Beef Shrinkage Tip:
Press the beef slab slightly larger than the bun rectangle before baking. It will shrink slightly as it cooks.
Grease Control (80/20 Beef):
After baking, carefully drain excess grease. For a cleaner finish, lightly blot the top of the beef slab with paper towels before transferring to the buns.
Clean Cuts Tip:
Allow sliders to rest 2–3 minutes before slicing. Use a sharp serrated knife and cut straight down for bakery-style squares.
Make Ahead Option:
Bake the beef slab earlier in the day and refrigerate. Assemble and broil just before serving.
Serving Tip:
Add fresh toppings like lettuce, tomato, and pickles just before serving to prevent soggy buns.
Freezer Option:
Freeze baked beef slab (without buns) tightly wrapped for up to 2 months. Thaw, reheat, and assemble when ready to serve.
Tips for Success
- Press the beef slightly larger than the rolls to account for shrinkage.
- Drain grease thoroughly to prevent soggy buns.
- Let sliders rest before slicing to keep layers intact.
- Use a serrated knife and cut straight down for clean squares.
Storage & Reheating
Store: Refrigerate leftovers in an airtight container for up to 3 days.
Reheat: Warm in a 325°F oven or air fryer until heated through to maintain bun texture.
For meal prep, bake the beef slab earlier in the day, refrigerate, then assemble and broil just before serving.
Frequently Asked Questions
Can I make these ahead of time?
Yes. Bake the beef slab in advance and refrigerate. Assemble and broil just before serving.
Can I freeze cheeseburger sliders?
You can freeze the cooked beef slab (without buns) tightly wrapped for up to 2 months. Thaw, reheat, and assemble fresh.
Can I pack these for a picnic?
Yes! After slicing, place the sliders back into the original Hawaiian roll bag and cardboard tray. This keeps them compact and easy to transport for park lunches or ball games.
Final Thoughts
These easy baked cheeseburger sliders are one of those dependable recipes that work in almost any situation. They’re simple, filling, and easy to customize based on what your family likes.
Whether you’re making them for a quick weeknight dinner, packing them up for the park, or serving them at a birthday party, they hold together well and feed a crowd without extra effort.
Sometimes the best meals are the ones that are practical, repeatable, and enjoyed by everyone at the table — and this one checks all three.
Leave a Reply