This post may contain affiliate links. As an Amazon Associate, I earn from qualifying purchases.
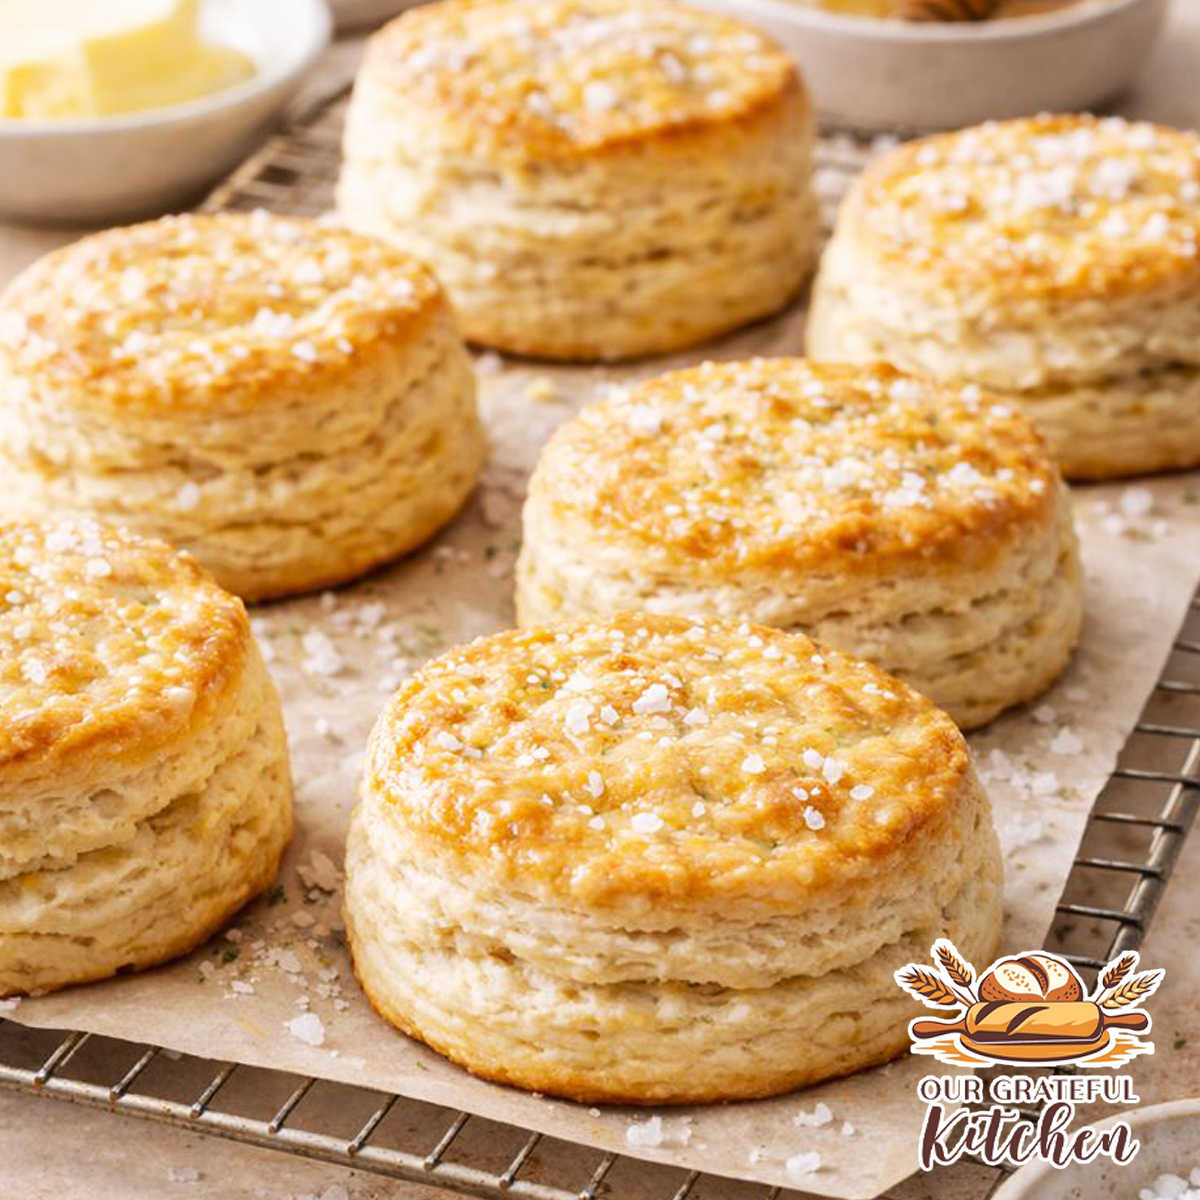
There’s something timeless about a pan of homemade buttermilk biscuits baking in the oven. Soft centers, flaky layers, and golden tops — they’re simple, comforting, and always worth the extra few minutes of effort. These biscuits are the kind you make on a slow morning, a snowy afternoon, or anytime you want something warm and homemade on the table.
Monday nights we serve Breakfast for Dinner, it’s one way I make my meal planning simpler – AND it’s one of our kids favorite meals! Sometimes it’s these buttermilk biscuits with Homemade Sausage Gravy. Sometimes it’s eggs with Hotel Style Waffles, Fluffy Pancakes, Cinnamon Rolls, Cinnamon Sugar French Toast or sometimes it’s Sourdough Discard Crepes with a side of Air Fryer Bacon and a cup of milk or Homemade Hot Chocolate.
Browse all my Breakfast Recipes and build your breakfast for dinner menu!
This recipe is dependable, forgiving, and designed to give you tall, tender biscuits with visible layers every time. They’re perfect on their own with butter and honey, or as the foundation for classic biscuits and gravy.
Out of buttermilk? Make your own!
Why You’ll Love These Biscuits
- They bake up tall and flaky with soft, tender centers
- The dough comes together quickly with simple pantry ingredients
- A food processor makes cutting in the butter fast and easy
- They work just as well for everyday breakfasts as special occasions
- Perfect for serving plain, sweet, or savory
Ingredients
- All-purpose flour
- Baking powder
- Sugar
- Salt
- Cold butter
- Buttermilk
- Melted butter (for brushing)

(Full measurements and instructions are in the recipe card below.)
Equipment Needed
- Food processor – Quickly cuts cold butter into the flour for an even, crumbly texture. I prefer this one by Hamilton Beach.
- Mixing bowl – For bringing the dough together after pulsing
- Silicone baking mat – I use this one with almost every bread recipe I make. It keeps the dough from sticking and helps with clean shaping
- Rolling pin – Gently presses the dough without compressing layers
- Mason jar lid ring or biscuit cutter – Cuts clean edges for better rise
- Baking sheet – Supports even baking
- Parchment paper – Prevents sticking and promotes even browning
How to Make Fluffy Buttermilk Biscuits
Great biscuits are all about texture and temperature. Cutting cold butter into the flour creates pockets of fat that melt in the oven, releasing steam and forming flaky layers. Pulsing just until crumbly is key — you’re not looking for a smooth dough at this stage.

Once the buttermilk is added, the dough should look rough and slightly sticky. Overmixing at this point will develop gluten and lead to dense biscuits, so a gentle hand matters.
The folding process is what creates layers. Rolling the dough out, folding it over itself, and repeating several times stacks those buttery layers without kneading. When cutting the biscuits, press straight down and lift straight up, twist very gently if needed — twisting too hard seals the edges and prevents proper rise.

Baking at a high temperature helps the biscuits puff quickly, setting the layers before they spread. Brushing with melted butter at the end adds flavor and keeps the tops soft.

This post may contain affiliate links. As an Amazon Associate, I earn from qualifying purchases.
PrintFlaky Homemade Buttermilk Biscuits

Classic fluffy, flaky homemade buttermilk biscuits made with cold butter and simple pantry ingredients. Perfect for biscuits and gravy or serving warm with butter and honey.
- Prep Time: 15 minutes
- Cook Time: 10-15 minutes
- Total Time: 25-30 minutes
- Yield: 6-8 biscuits
- Category: Bread, Breakfast
- Cuisine: American
Ingredients
- 2 1/2 cups all-purpose flour, plus about 1/2 cup more for dusting
- 2 TBSP baking powder
- 1 1/2 tsp sugar
- 1/2 tsp salt
- 8 TBSP cold butter, cut into pieces (salted)
- 1 cup buttermilk* (see notes for substitute)
- 3 TBSP salted butter, melted (for brushing)
Instructions
- Preheat oven to 425°F.
- Line a baking sheet with parchment paper.
- Add flour, baking powder, sugar, and salt to a food processor.
- Add cold butter and pulse several times until the mixture resembles a loose crumble.
- Transfer mixture to a medium bowl. Add buttermilk and stir gently until a rough, slightly sticky dough forms.
- Turn dough onto a lightly floured surface. Roll into a rough rectangle about 1 inch thick. Fold over and gently roll again. Repeat folding and rolling 6 times.
- Roll dough into a rectangle once more. Cut biscuits using a floured biscuit cutter or glass.
- Gather remaining dough, reshape, and cut additional biscuits as needed.
- Place biscuits on prepared baking sheet and bake for 10–15 minutes, or until golden brown.
- Brush tops with melted butter and serve warm.
Notes
- If you don’t have buttermilk, click here to make your own! – Two ingredients, 10 minutes!
-
If you don’t have a food processor, cut the butter into the flour using a box grater, fork, or pastry cutter.
Tips for Success
- Use very cold butter for the flakiest layers
- Don’t overwork the dough once the liquid is added
- Flour your cutter between cuts to prevent sticking
- Press the cutter straight down — less twisting is best
- Bake until just golden to keep the centers tender
Storage & Reheating
Store: Keep leftover biscuits in an airtight container at room temperature for up to 2 days, or refrigerate for up to 5 days.
Reheat: Warm in a 300°F oven for 5–7 minutes or split and toast lightly.
Frequently Asked Questions
Can I make these without a food processor?
Yes. You can grate the cold butter into the flour or cut it in using a pastry cutter or fork.
Can I freeze biscuit dough?
Absolutely. Cut the biscuits, freeze them solid on parchment paper, then transfer to freezer safe storage container, then bake from frozen, adding a few extra minutes to the bake time.
Are these good for biscuits and gravy?
Yes — these biscuits are sturdy enough to hold gravy while staying soft inside.
Variations & Serving Ideas
- Serve with butter and honey or homemade jam
- Use as the base for biscuits and gravy
- Split and fill with eggs, sausage, or bacon for breakfast sandwiches
- Brush with garlic butter for a savory twist
Find even more Easy Breakfasts or browse our Bread Recipes while you’re here!
Final Thoughts
Homemade buttermilk biscuits are one of those recipes that never go out of style. Once you’ve made them a few times, the process becomes second nature — and the results are always worth it. Whether you’re serving them alongside breakfast or building a comfort-food meal around them, these biscuits deliver every time.
Leave a Reply