This post may contain affiliate links. As an Amazon Associate, I earn from qualifying purchases.
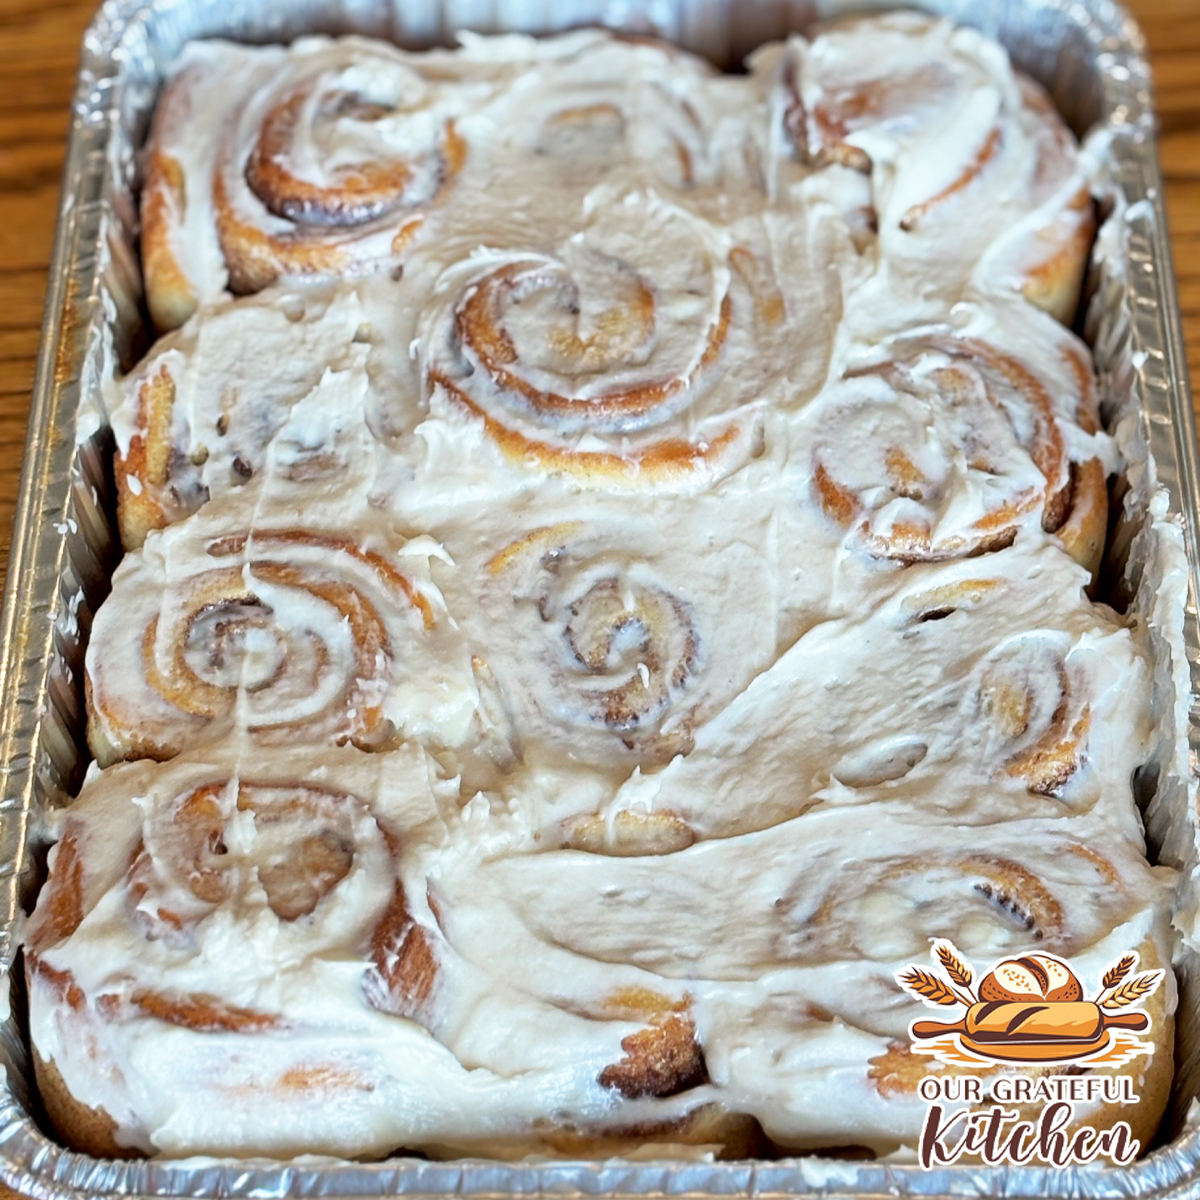
There are few things better than the smell of homemade cinnamon rolls baking in the oven. Soft, fluffy dough, a buttery cinnamon-sugar swirl, and warm rolls ready for frosting — this is the kind of recipe that feels special but is still completely doable at home.
This cinnamon roll recipe is written for real life. You can make them start-to-finish the same day using a warm oven rise, or prep them the night before and bake them fresh in the morning. I’ve also separated the frosting so you can choose what you love most — classic cream cheese frosting or a smooth vanilla buttercream, or for a different flavor profile, try my almond buttercream frosting!
If you want rolls with a fun twist, try my Oreo Cinnamon Rolls or my Sourdough Discard Cinnamon Rolls.
If you want to eat like a true midwesterner, pair these with some Slow Cooker Chili – you won’t regret it!
Why You’ll Love This Recipe
- Same-day friendly, with an easy overnight option
- Soft, bakery-style rolls that stay tall and fluffy
- Stand mixer method that’s reliable and beginner-friendly
- Flexible frosting options — no one-size-fits-all icing here
- Easy to double for holidays or brunch gatherings
- You can also try an optional heavy cream pour before baking for an extra-gooey, ultra-soft texture.
Ingredients
Dough
- Warm milk
- Active dry yeast
- Granulated sugar
- All-purpose flour
- Egg
- Butter (I always use salted, but unsalted is fine too)
- Salt

Cinnamon Filling
- Granulated Sugar
- Cinnamon
- Butter
Equipment Needed
- Stand mixer with dough hook – Makes kneading easy and consistent
- 9×13 baking dish – Allows the rolls to bake evenly
- Rolling pin – Helps create an even rectangle for uniform rolls
- Silicone baking mat or floured countertop – I highly, highly recommend using this baking mat with measurements for rolling and measuring the dough
- Unflavored dental floss – The cleanest way to slice cinnamon rolls without compressing the spiral. It keeps the layers neat and defined.
How to Make Bakery-Style Cinnamon Rolls
This dough is enriched with milk, butter, and egg, which gives the rolls their soft, tender crumb. The process uses two rises: one to develop structure and flavor, and a second to create light, fluffy rolls before baking.

The first rise begins after the yeast is activated and a small amount of flour is added. This early fermentation step helps jumpstart gluten development and gives the dough a head start before kneading.

Once the dough is fully mixed and kneaded, it rises again until doubled. Using a warm, turned-off oven creates a consistent, draft-free environment that encourages steady rising without overheating the dough. The goal is dough that’s airy and elastic, not rushed.

After resting, the dough is rolled into a rectangle. If it pulls back as you roll, letting it relax for a few minutes allows the gluten to loosen so it can stretch evenly. Butter is spread across the surface, followed by a simple cinnamon-sugar mixture that melts into the layers as the rolls bake.

Rolling the dough evenly is key for uniform rolls. A tight, consistent log ensures that each slice bakes at the same rate. Instead of using a knife, unflavored dental floss is slid underneath the log, crossed over the top, and pulled tight. This method slices cleanly without compressing the dough, helping the rolls stay round and tall.


After shaping and the first rise, the rolls rise once more until puffy.

At this point, you can either bake them the same day or refrigerate them overnight and finish the rise the next morning.
Choose Your Frosting
These cinnamon rolls are intentionally unfrosted in the recipe so you can choose what you love most.
→ Classic Cream Cheese Frosting
Rich, tangy, and soft-set — perfect for spreading over warm rolls so it melts into every swirl.
→ Vanilla Buttercream Frosting
Smooth, fluffy, and lightly sweet — ideal if you prefer a sweeter finish or plan to serve the rolls at room temperature.
Want an even more decadent topping?
→ Salted Caramel Pecan Praline Sauce
Smooth, fluffy, and lightly sweet — ideal if you prefer a sweeter finish or plan to serve the rolls at room temperature.
Want an even simpler topping?
→ Homemade Whipped Cream
Looking for a more Simple topping? Try topping with our Homemade Whipped Cream!

This post may contain affiliate links. As an Amazon Associate, I earn from qualifying purchases.
PrintBakery-Style Cinnamon Rolls (Same Day or Overnight)

Soft, fluffy homemade cinnamon rolls made with a rich yeast dough and classic cinnamon-sugar filling. This stand-mixer recipe uses a warm oven rise for same-day baking, with an easy overnight option included.
- Prep Time: 35 minutes
- Rise Time: 1 hour 35 minutes
- Cook Time: 20 minutes
- Total Time: About 2.5 – 3 hours
- Yield: 12 rolls
- Category: Bread, Breakfast, Dessert, Side Dish
- Cuisine: American
Ingredients
Dough
- 1 cup warm milk (about 110°F)
- 2 ¼ tsp active dry yeast (1 packet)
- ¼ cup granulated sugar, divided
- 3–3½ cups all-purpose flour
- 1 large egg, room temperature
- 3 TBSP unsalted butter, melted (divided)
- ½ tsp salt
Cinnamon Filling
- ½ cup unsalted butter, softened
- ¼ cup granulated sugar
- 1 TBSP ground cinnamon
Equipment Needed
- Stand mixer with dough hook – For mixing and kneading the dough
- 9×13 baking dish – For baking the rolls evenly
- Silicone baking mat or floured countertop – Helps with measuring and rolling evenly
- Rolling pin – To roll the dough evenly
- Unflavored dental floss – For cleanly cutting the rolls without squishing
- Mixing bowls – For filling and prep
Instructions
- In the bowl of a stand mixer, combine warm milk, yeast, and 2 TBSP of the sugar. Stir gently and let sit uncovered for 8 minutes, until foamy and activated.
- Add ½ cup flour and whisk until combined. Cover the bowl with plastic wrap or a clean towel and place in a warm, turned-off oven for 20 minutes, or let rise at room temperature for about 1 hour, until puffed.
- Uncover and whisk in the egg, remaining 2 TBSP sugar, 2 TBSP melted butter, and salt.
- Attach the dough hook. With the mixer on low speed, add the remaining flour ½ cup at a time, allowing each addition to fully incorporate before adding more.
If the dough is still sticky, add flour 1 TBSP at a time just until the dough is no longer sticky. - Increase mixer speed slightly and knead for 10 minutes, until smooth and elastic.
- Cover again and return the dough to a warm, turned-off oven (rewarm briefly if needed) for 45 minutes, or let rise at room temperature for 2 hours, until doubled in size.
- Lightly flour a countertop or silicone baking mat. Turn the dough out onto the surface and let rest for 10 minutes.
- Roll the dough evenly into a 10″ × 18″ rectangle.
- Spread softened butter evenly over the dough using a silicone spatula, leaving a thin strip along one long edge unbuttered to help seal the roll.
- In a small bowl, mix together the sugar and cinnamon. Sprinkle the mixture evenly over the buttered dough.
- Roll the dough tightly lengthwise, forming an even 18-inch log. Try to keep the log uniform from end to end for evenly sized rolls.
- Slide unflavored dental floss underneath the log, cross the ends over the top, and pull tight to cut cleanly.
Cut the dough into 12 rolls, each about 1.5 inches wide. - Butter the bottom and sides of a 9×13 baking dish and arrange the rolls evenly, cut-side up.
- Cover and let rise in a warm, turned-off oven for 30 minutes, at room temperature for 2 hours, or refrigerate overnight.
If refrigerated, let the rolls sit at room temperature for 1–2 hours before baking. - Brush the tops with the remaining 1 TBSP melted butter.
- Bake at 350°F for 20 minutes, or until the tops are lightly golden.
- Let cool in the pan for 20–25 minutes, then frost generously with our buttercream or cream cheese frosting.
Notes
Warm Oven Rise:
Preheat oven to 175°F for 2 minutes, then turn it off completely. The oven should feel warm, not hot.
Overnight Option:
After shaping and placing rolls in the baking dish, cover tightly and refrigerate overnight. Allow rolls to come to room temperature and rise for 1–2 hours before baking.
Cutting the Rolls:
Using unflavored dental floss instead of a knife prevents compressing the dough, helping the rolls bake up tall and evenly round.
Doubling the Recipe:
This recipe doubles easily. Simply double all ingredients and divide the rolls between two baking dishes.
Storage
Store baked cinnamon rolls tightly covered at room temperature for up to 2 days or refrigerate for up to 5 days.
Tips for Success
- Start with the lower amount of flour and add gradually until the dough is soft but not sticky.
- If the dough resists rolling, let it rest for 10 minutes to relax the gluten.
- Keep the oven warm, not hot, during rises to avoid killing the yeast.
- Use unflavored dental floss for clean cuts that don’t flatten the rolls.


Storage & Reheating
Store: Keep baked cinnamon rolls tightly covered at room temperature for up to 2 days or refrigerate for up to 5 days.
Reheat: Warm individual rolls in the microwave for 15–20 seconds, or reheat the pan loosely covered in a low oven until warmed through.
Frequently Asked Questions
Can I make these overnight?
Yes. After shaping and placing the rolls in the baking dish, cover and refrigerate overnight. Let them sit at room temperature for 1–2 hours before baking.
Can I double the recipe?
Absolutely. This recipe doubles easily — just divide the rolls between two baking dishes.
Why use dental floss instead of a knife?
Dental floss slices cleanly without compressing the dough, which helps the rolls bake up taller and more evenly.
Can I freeze cinnamon rolls?
Yes. Cinnamon rolls freeze well either baked or unbaked. To freeze unbaked rolls, arrange them in the baking dish, cover tightly, and freeze. When ready to bake, thaw overnight in the refrigerator, then allow them to come to room temperature and rise for 1–2 hours before baking. Baked rolls can be frozen unfrosted, wrapped tightly, and thawed at room temperature before reheating and frosting. You may still freeze them after frosting, but your texture may change after thaw.
Final Thoughts
These cinnamon rolls are the kind of recipe you come back to — soft, reliable, and flexible enough for busy mornings or special occasions. Whether you frost them with tangy cream cheese icing or a smooth buttercream, they’re meant to be shared warm, fresh, and generously.

Leave a Reply